Getting FCM Certificate
Paylisher SDK supports Firebase Cloud Messaging (FCM) for push notifications. In order to use FCM, you must follow the integration steps described in the following sections. Official documentation provided by the Firebase can be found here .
Step 1. Create a Firebase Project
If you don’t have a Firebase project, you can create one in the Firebase console. If you already have a Firebase project, you can skip this step.
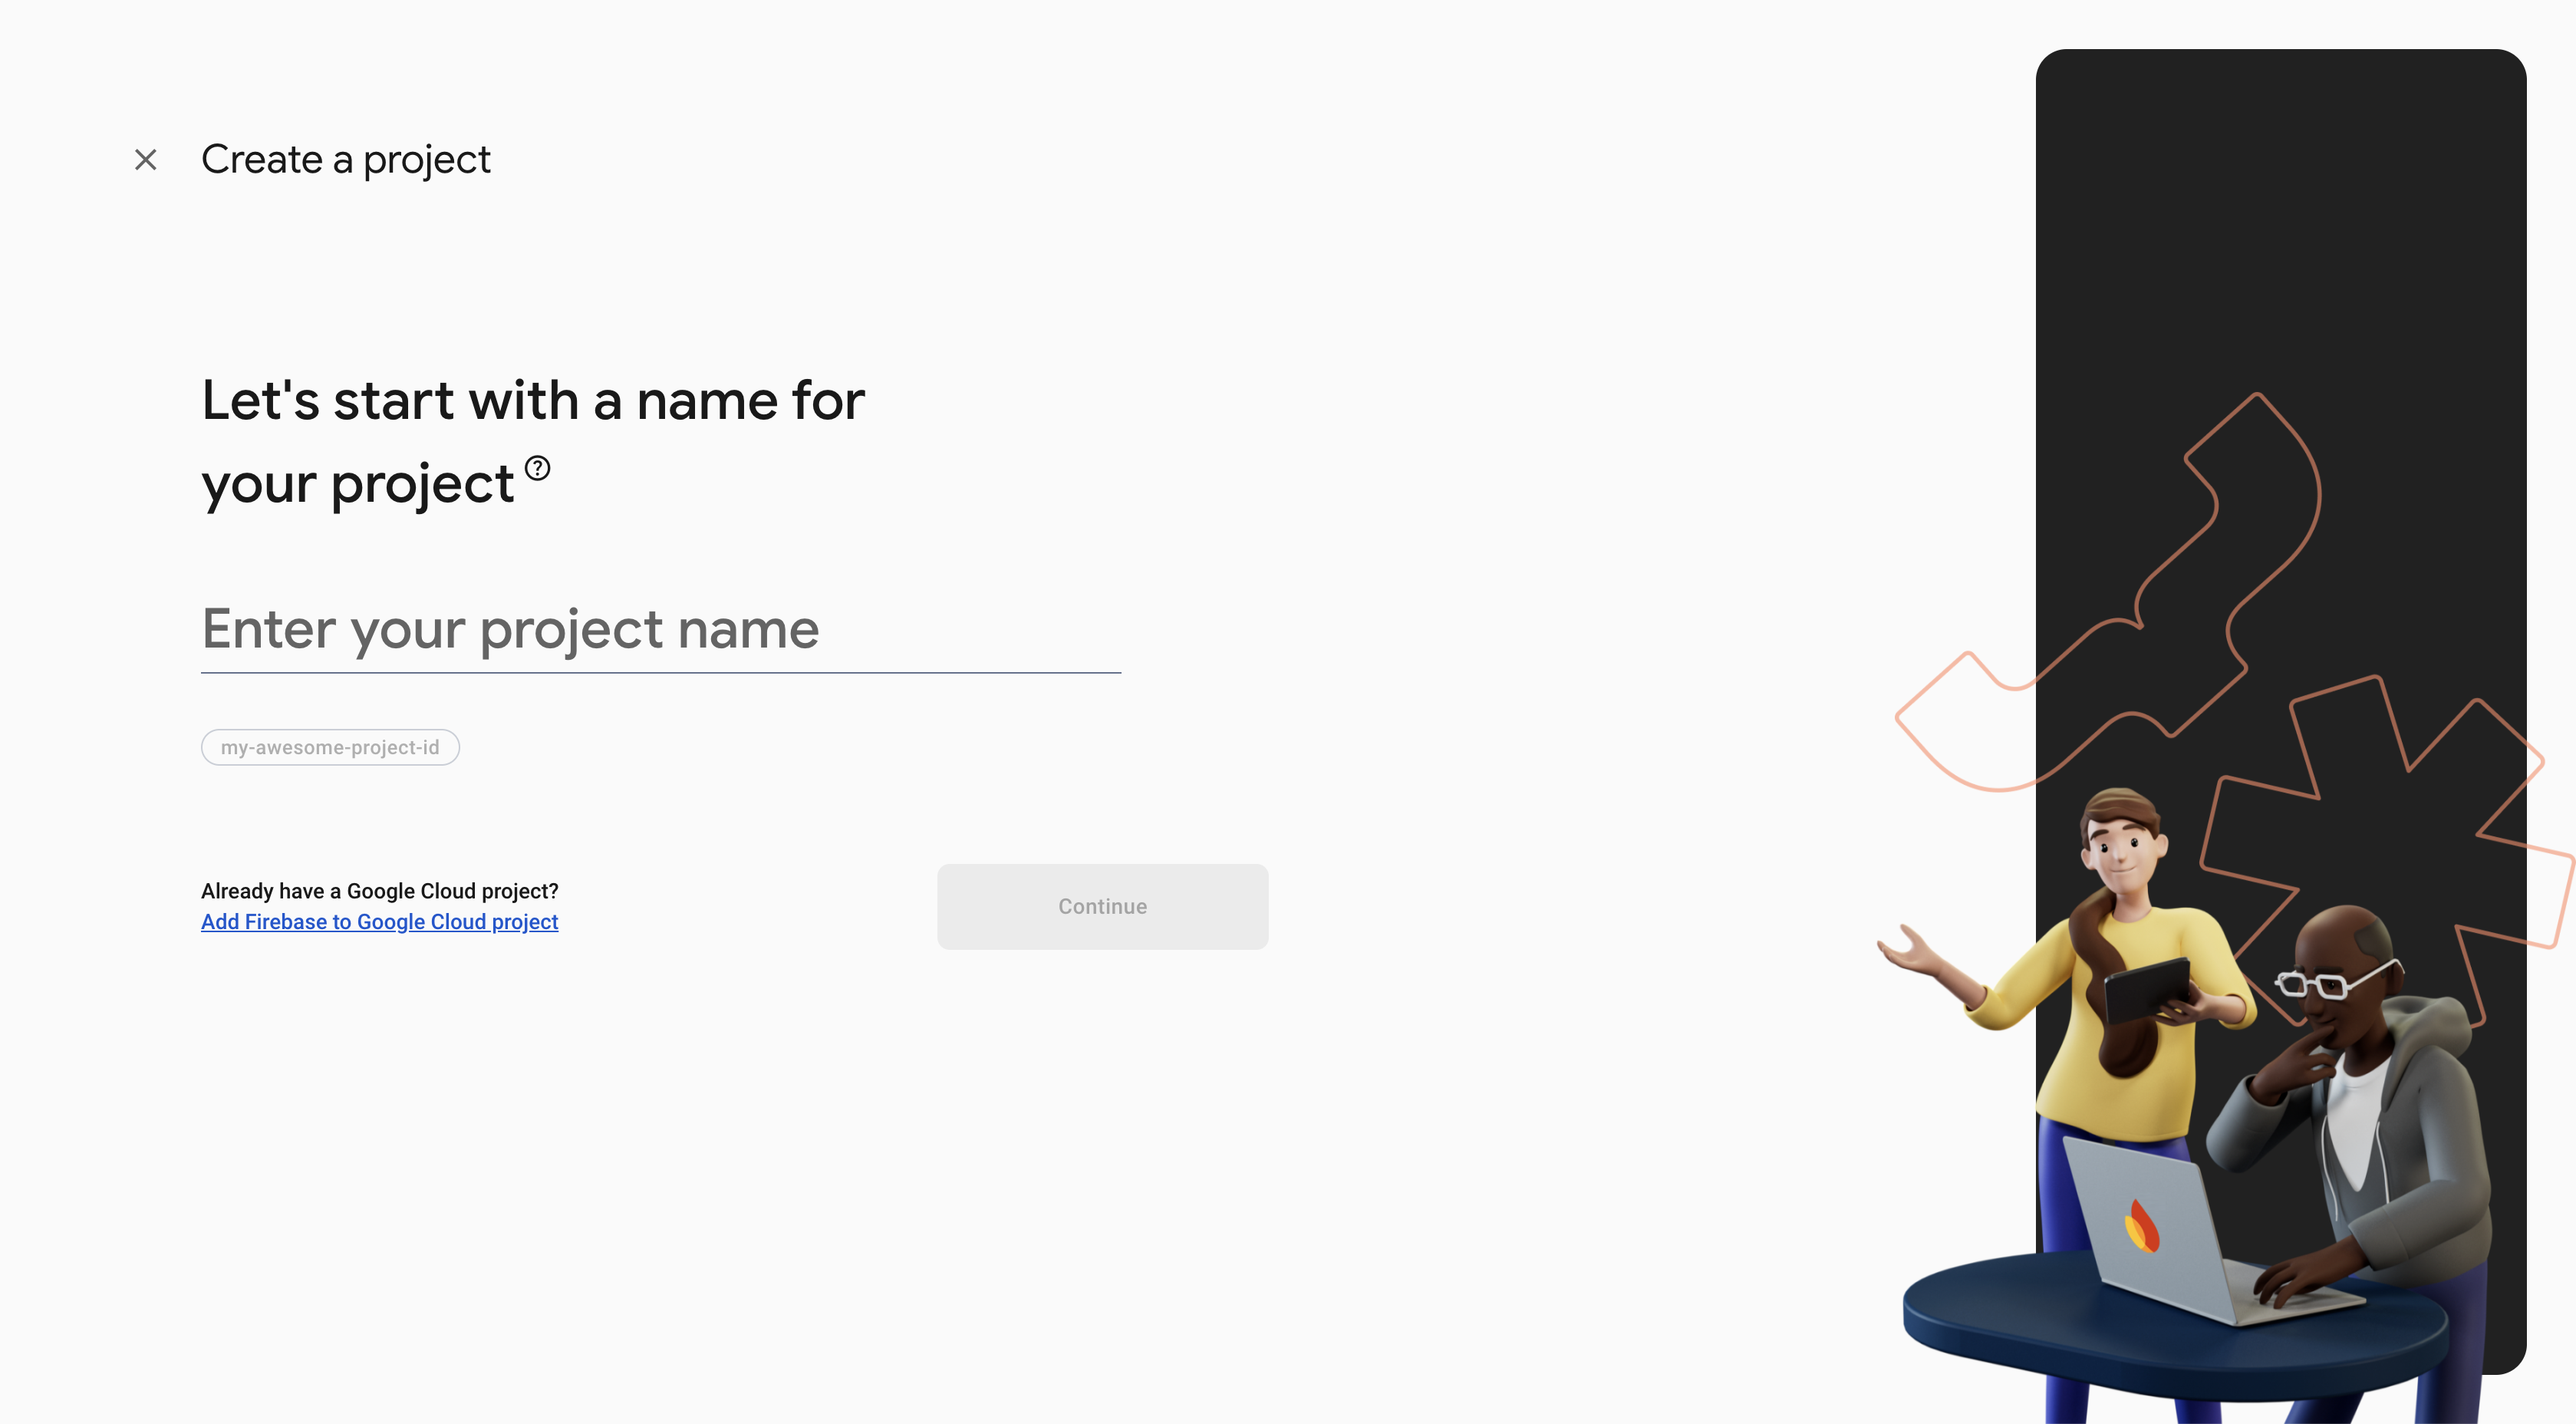
Create a Firebase account and log in to the Firebase console. Click **Add project ** and follow the on-screen instructions to create a new project.
Enter a name for your project and click Continue.
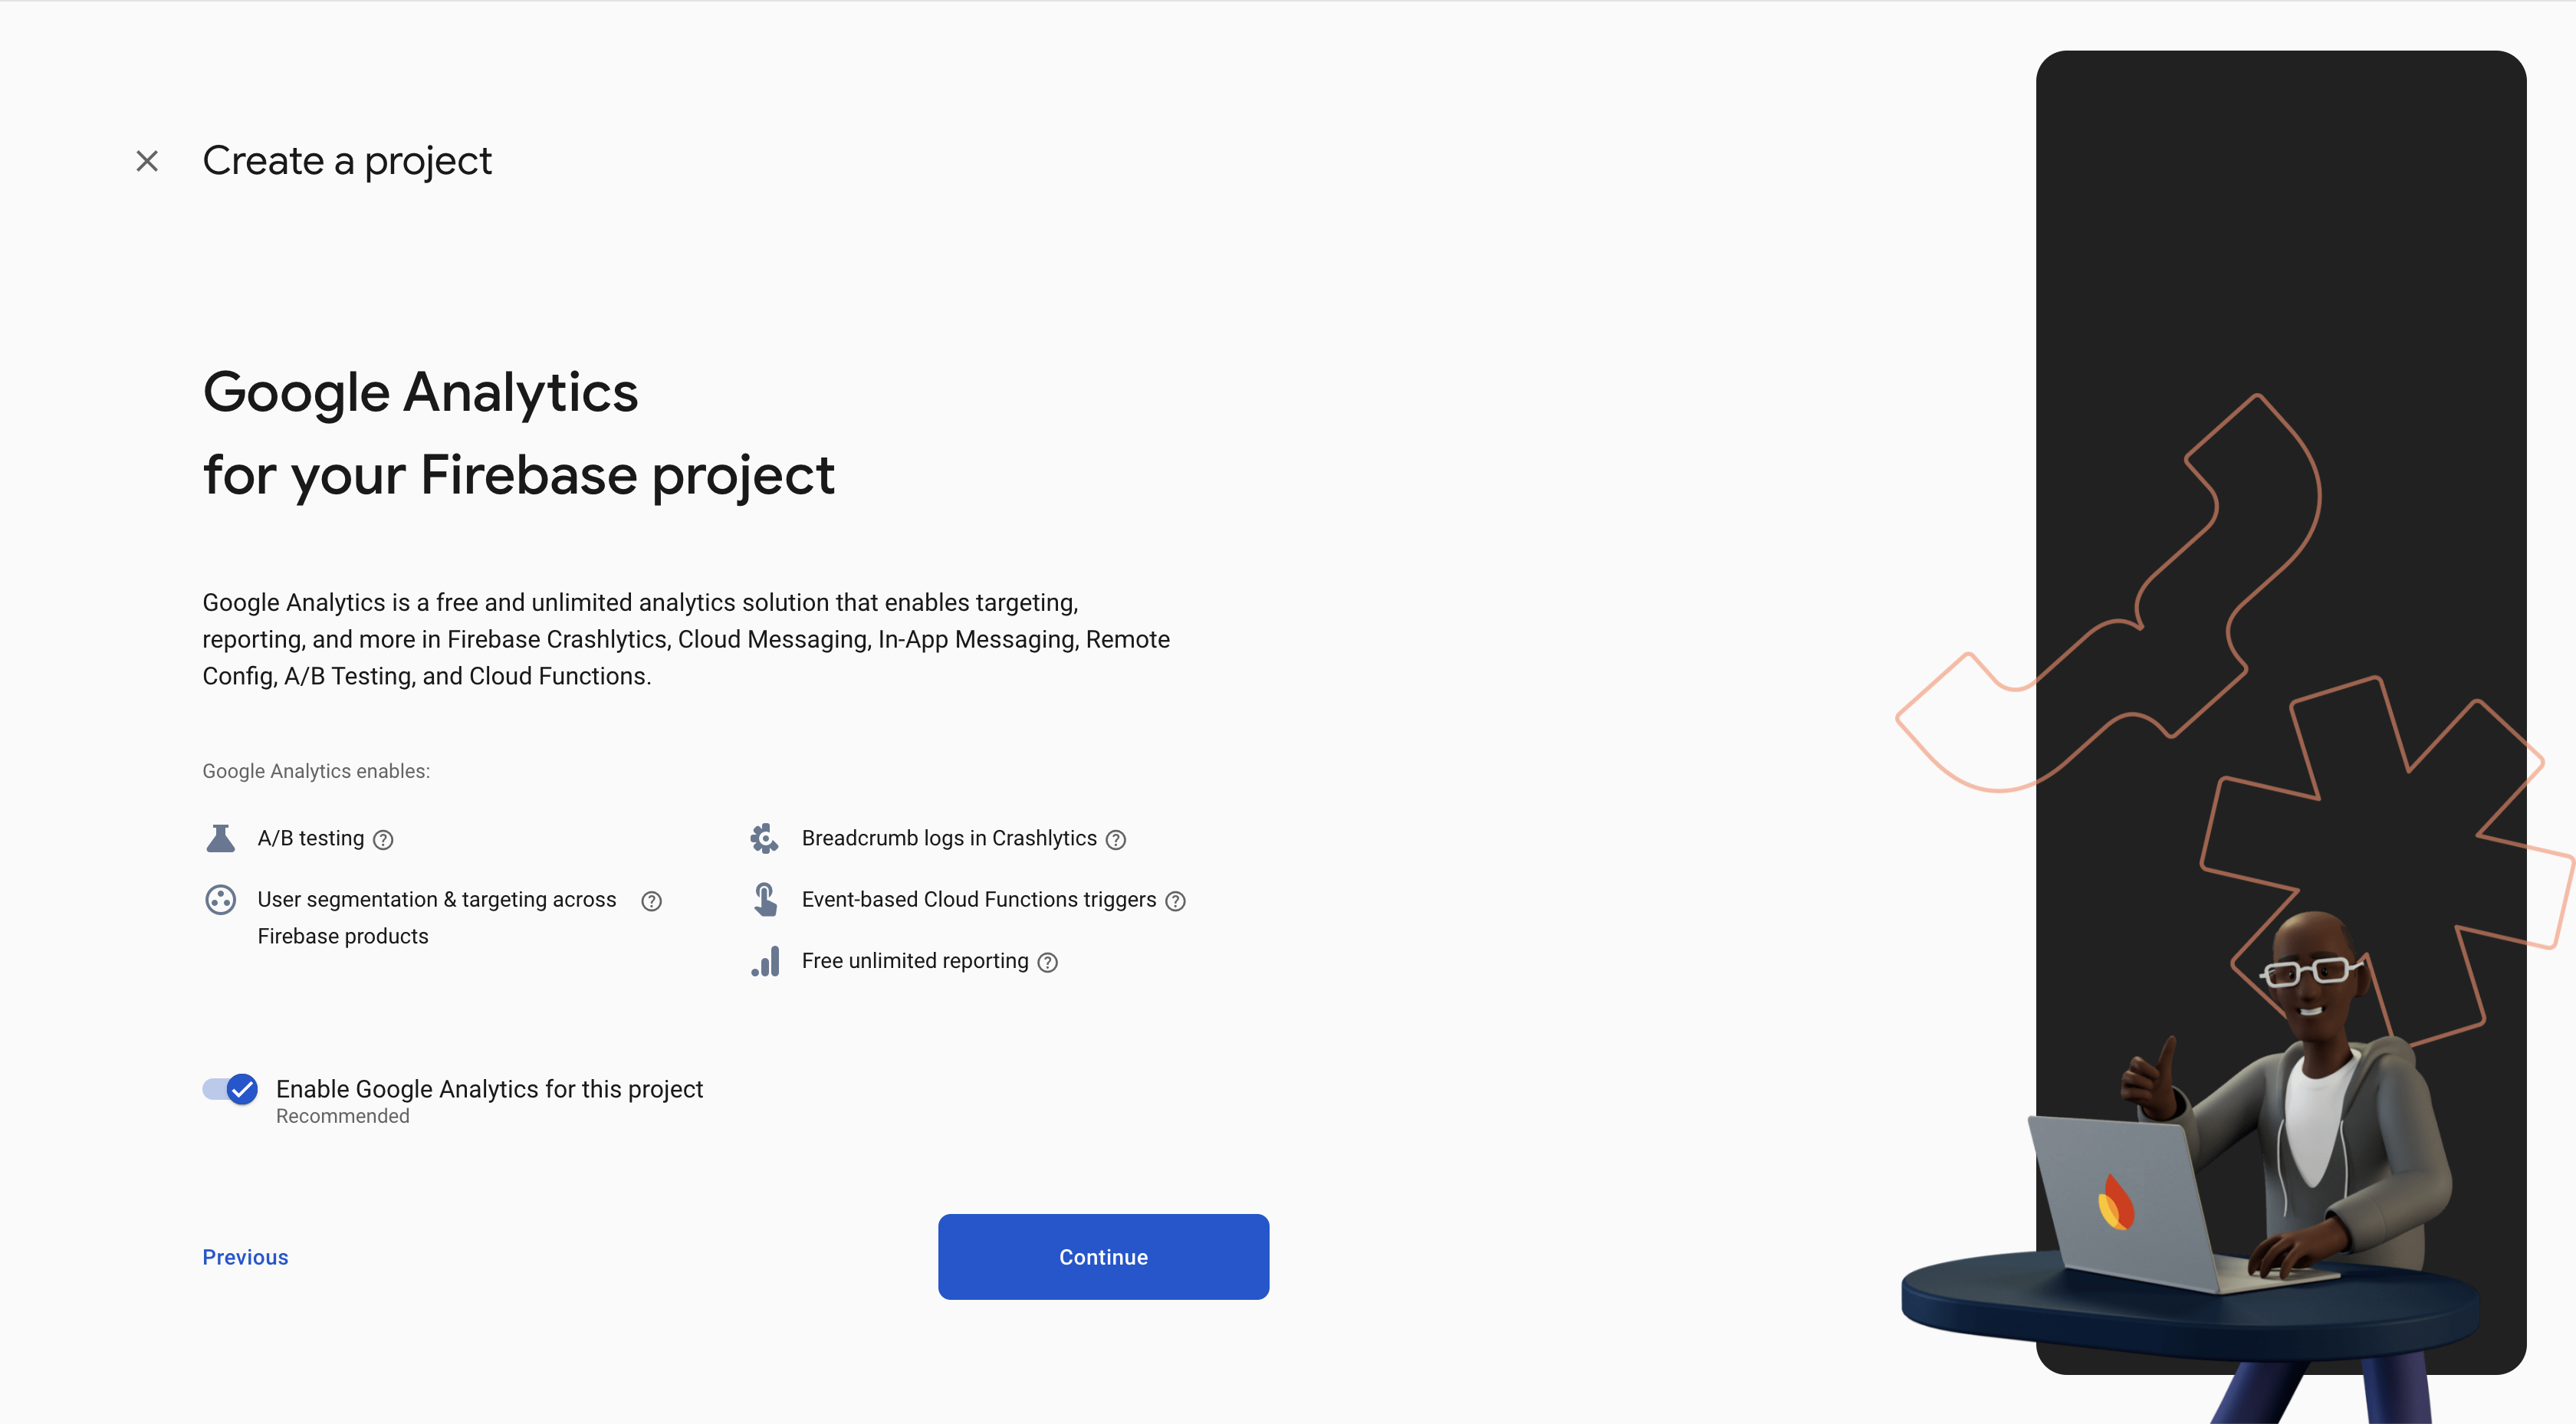
Optionally, set up Google Analytics for your project and click Continue.
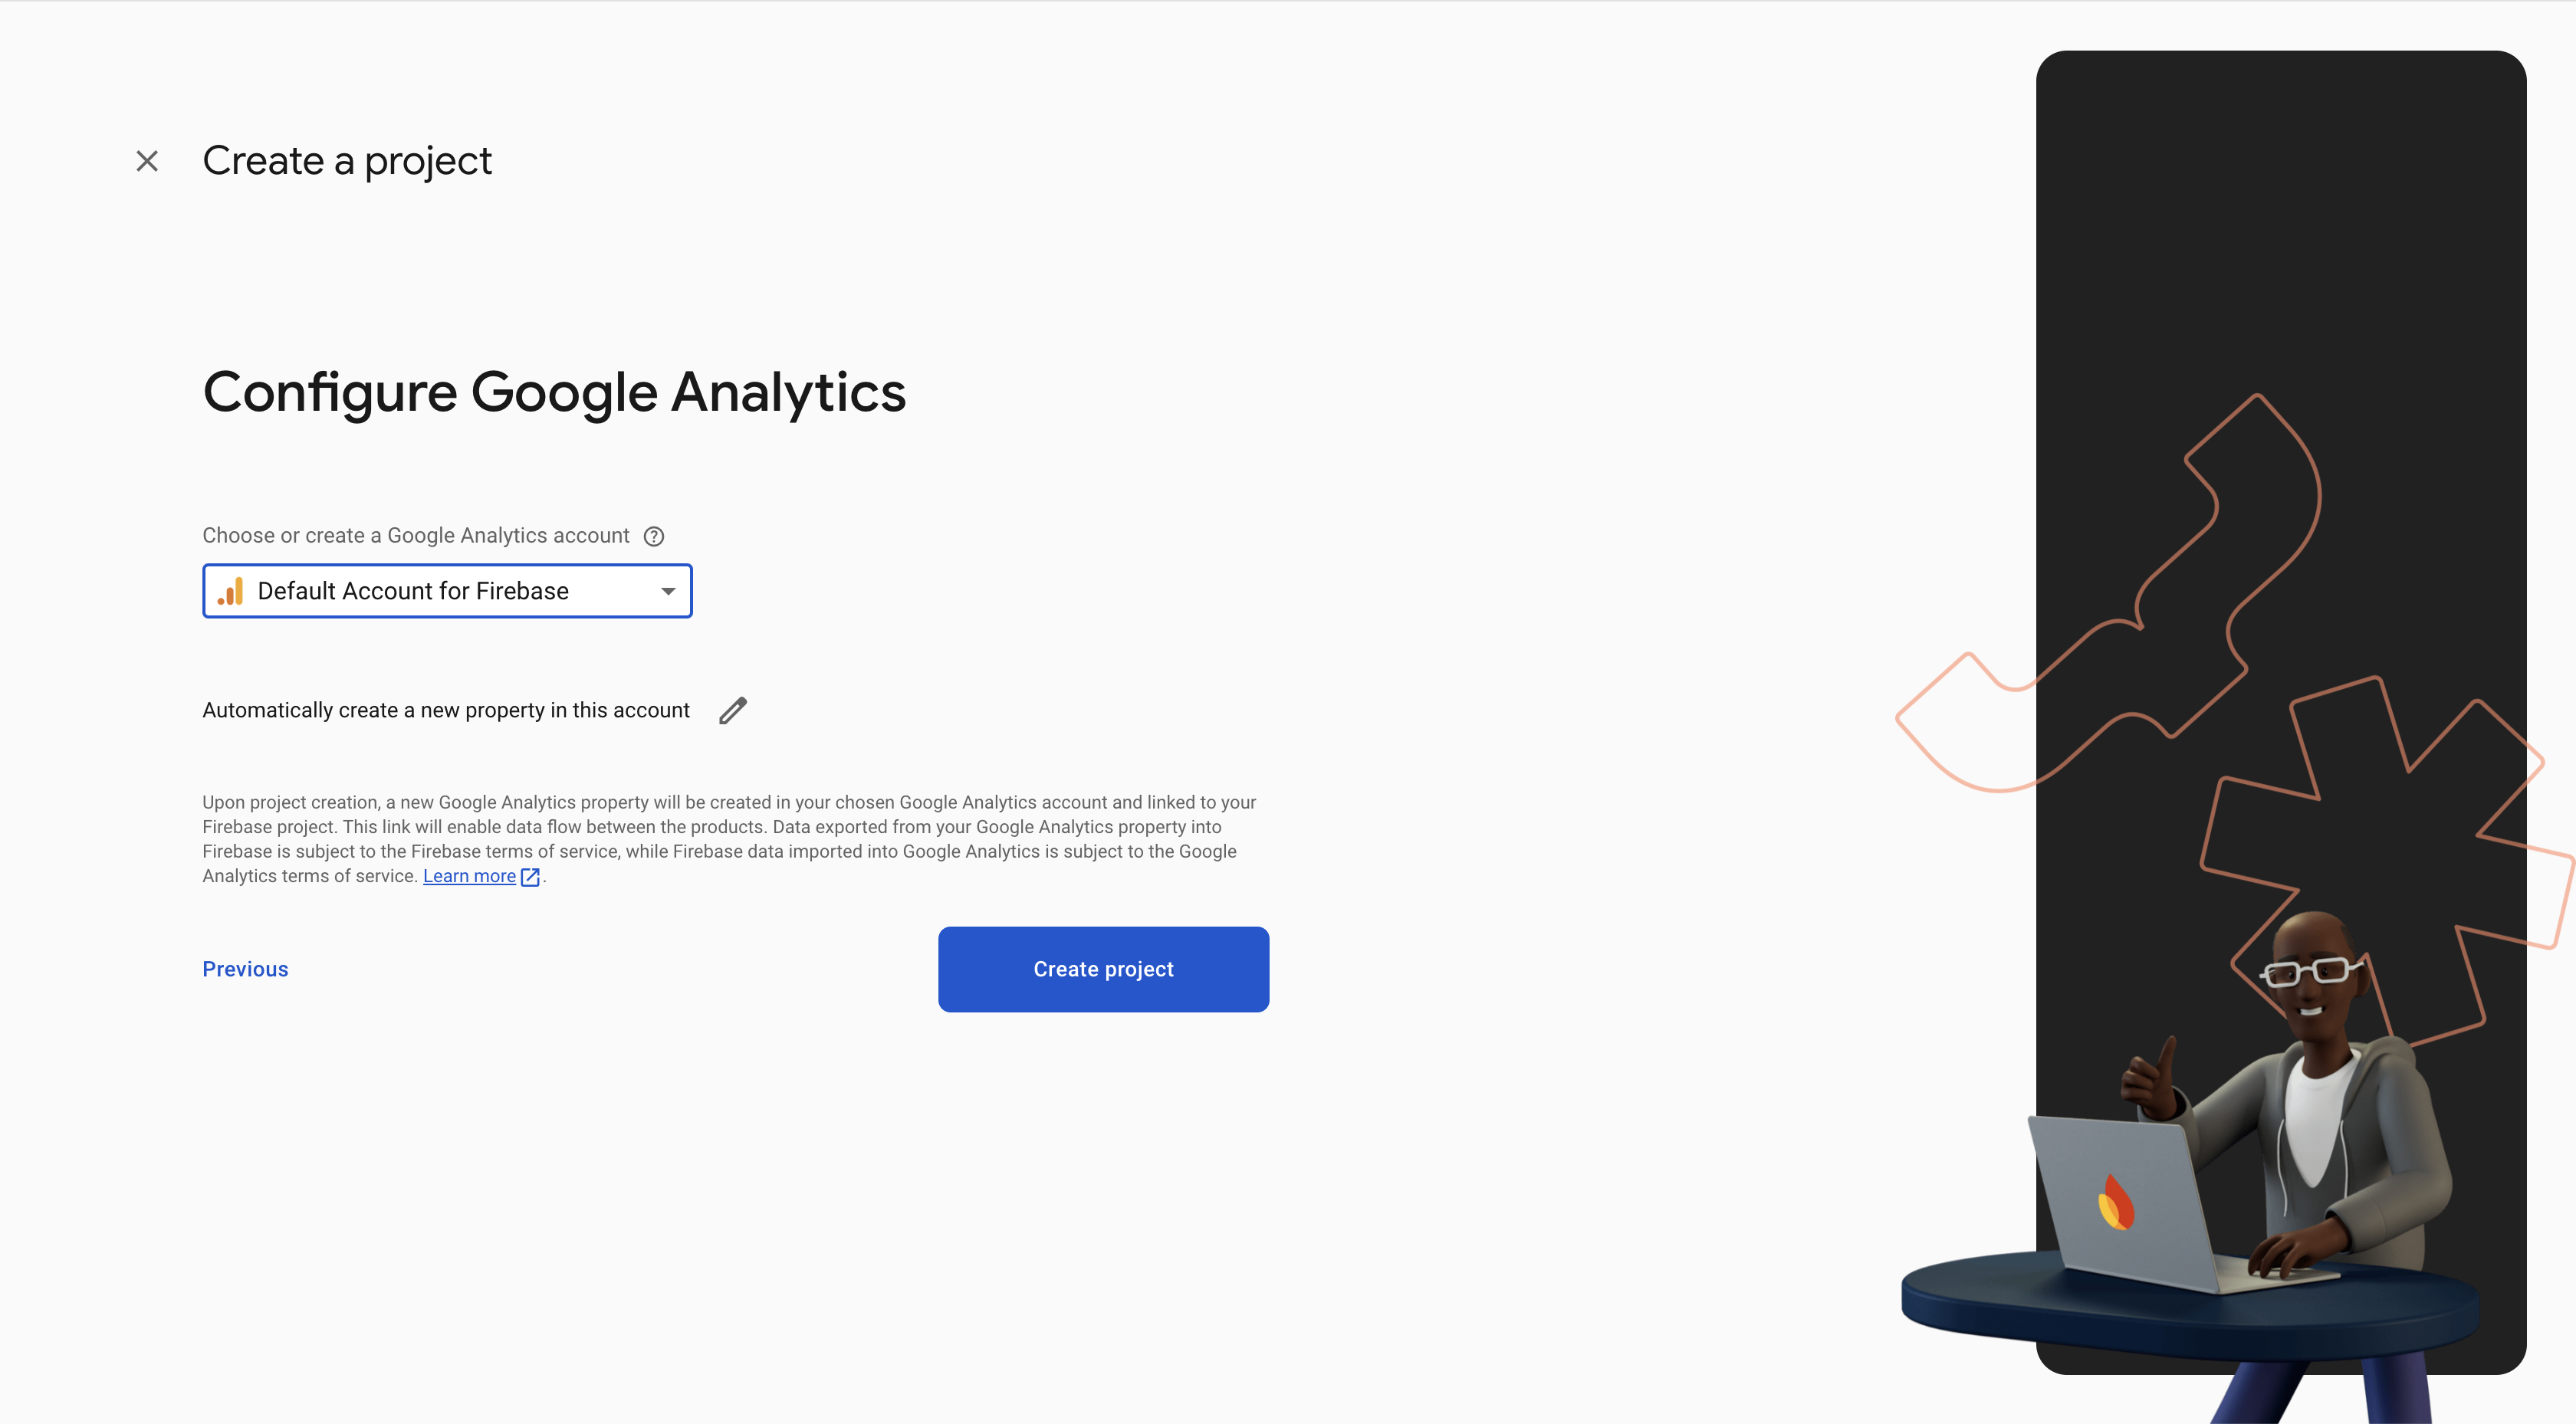
If you opt-in to set up Google Analytics, you will be asked to provide a Google Analytics account.
Step 2. Add Firebase to App
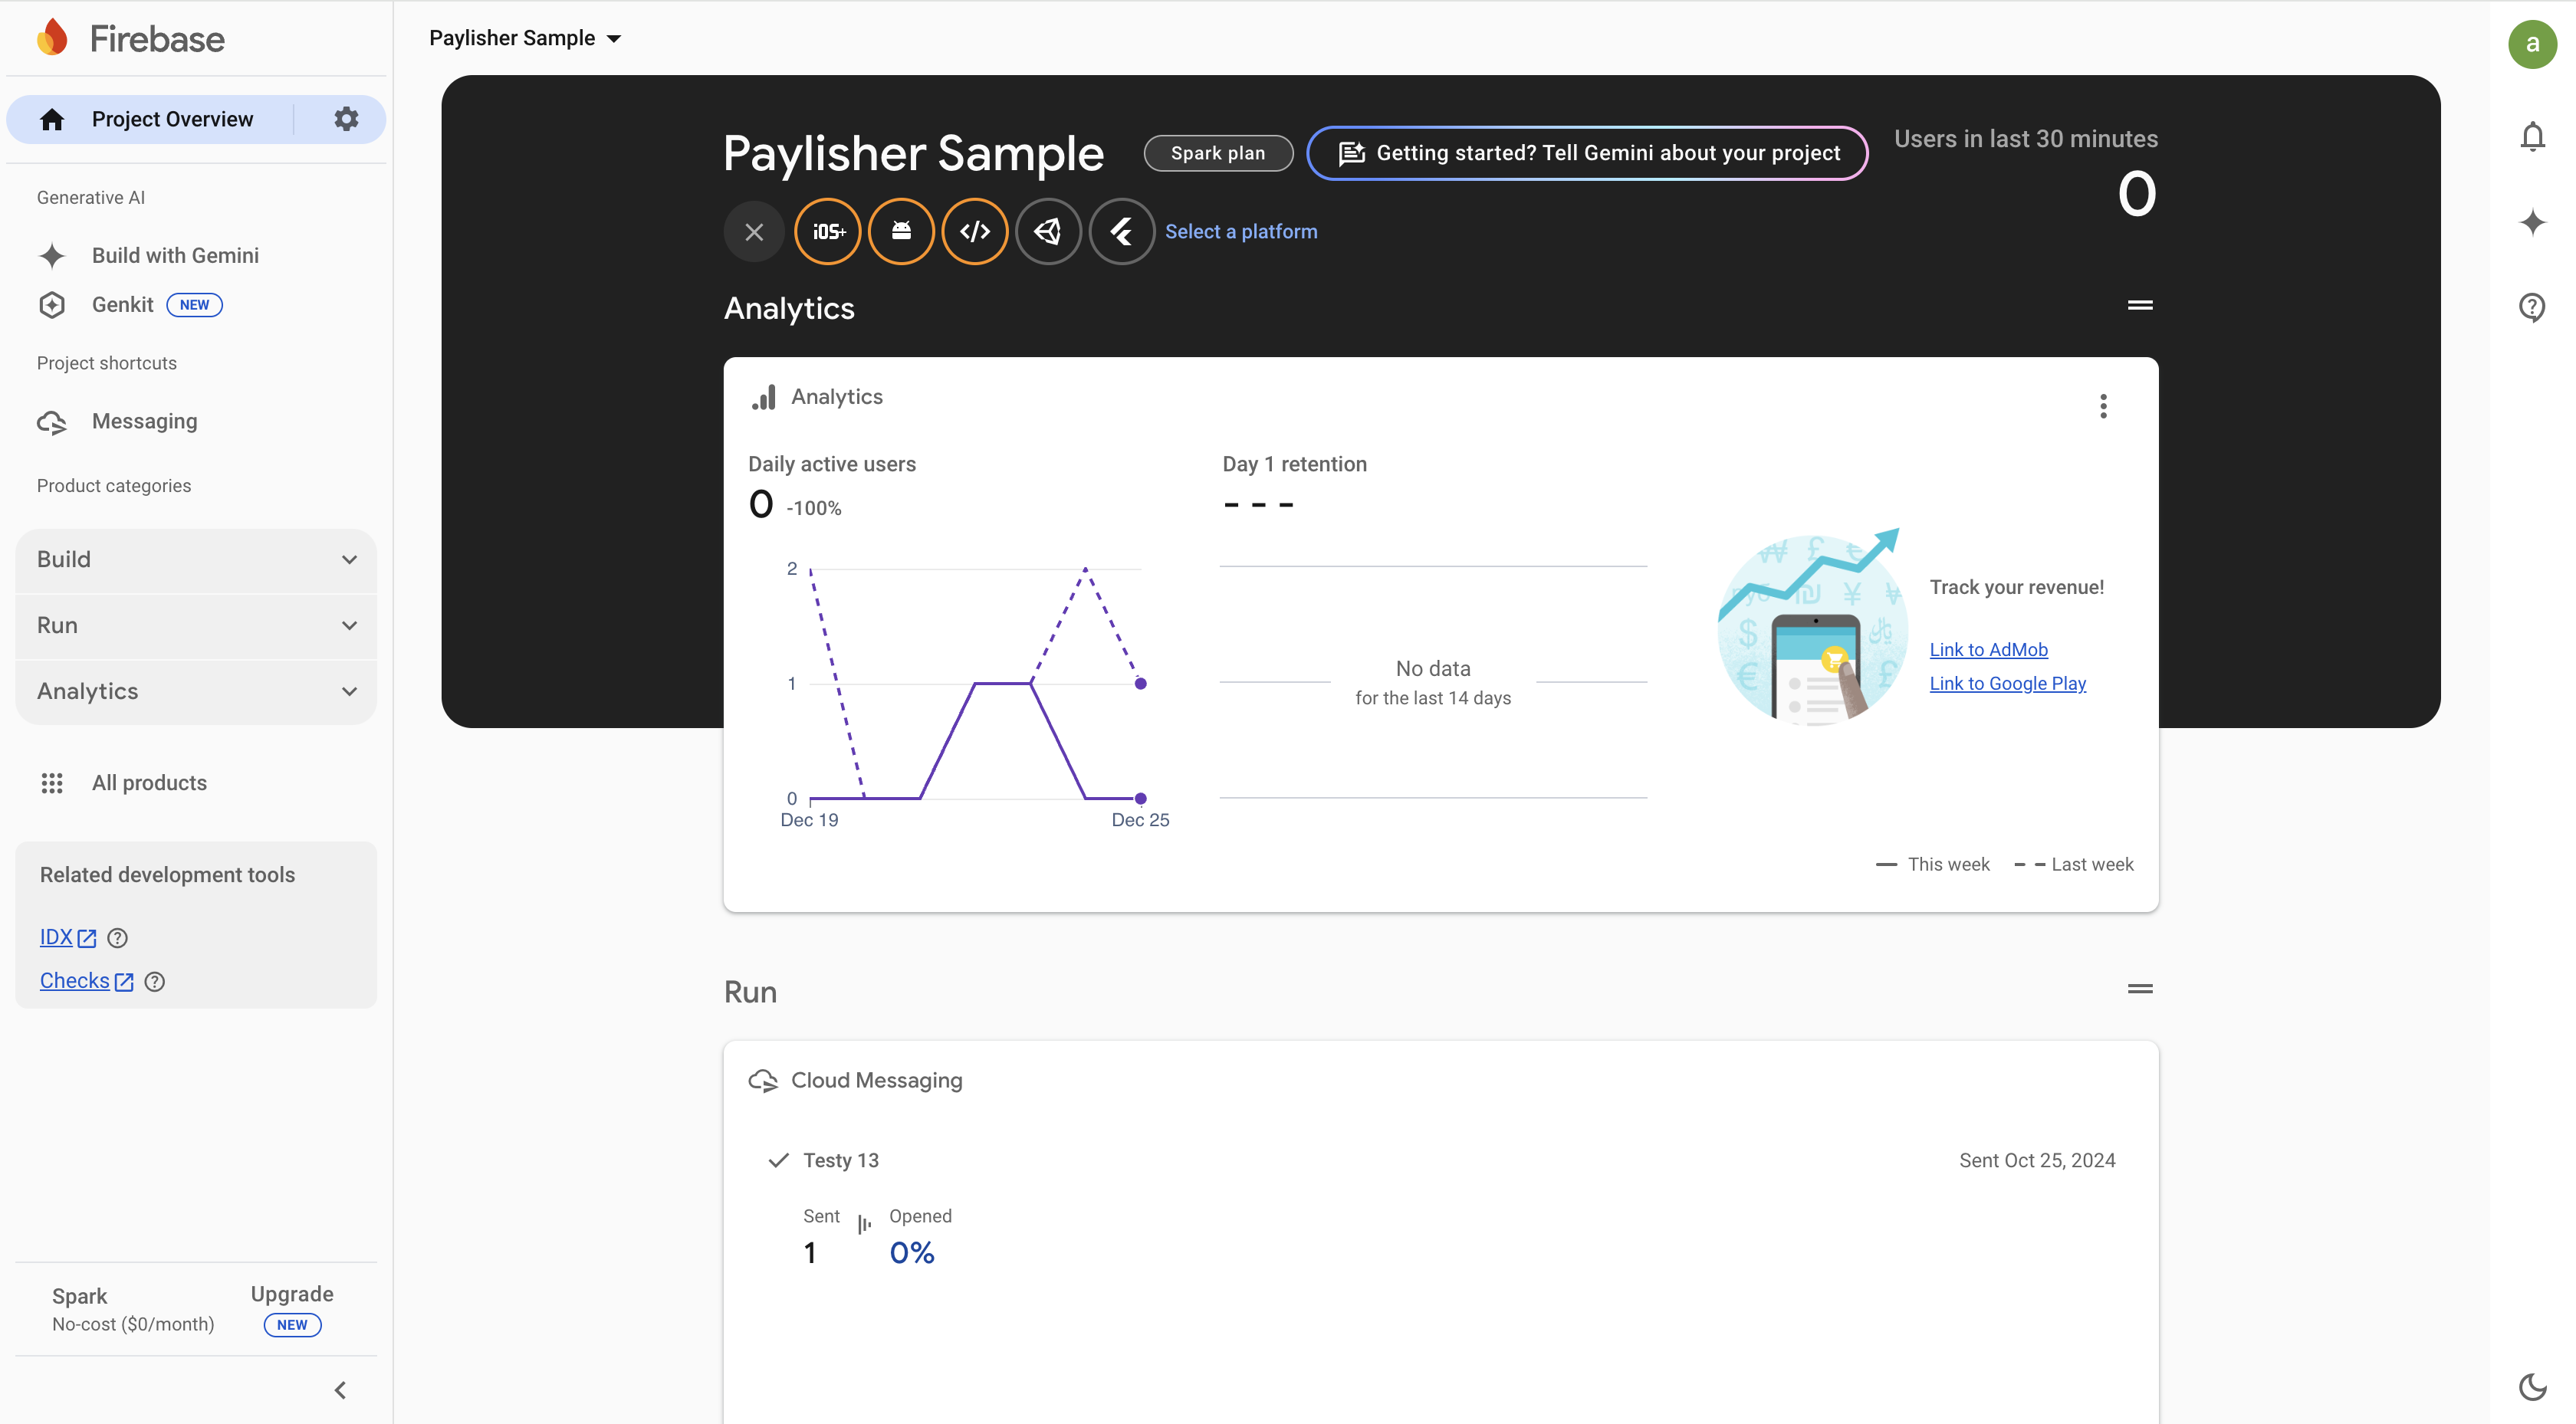
1. Open Firebase Project
Open the Firebase project that you created in the previous step or the existing Firebase project that you want to use
for your app.
note:
Please make sure that you selected the correct Firebase project as your Firebase account may have access to multiple projects.
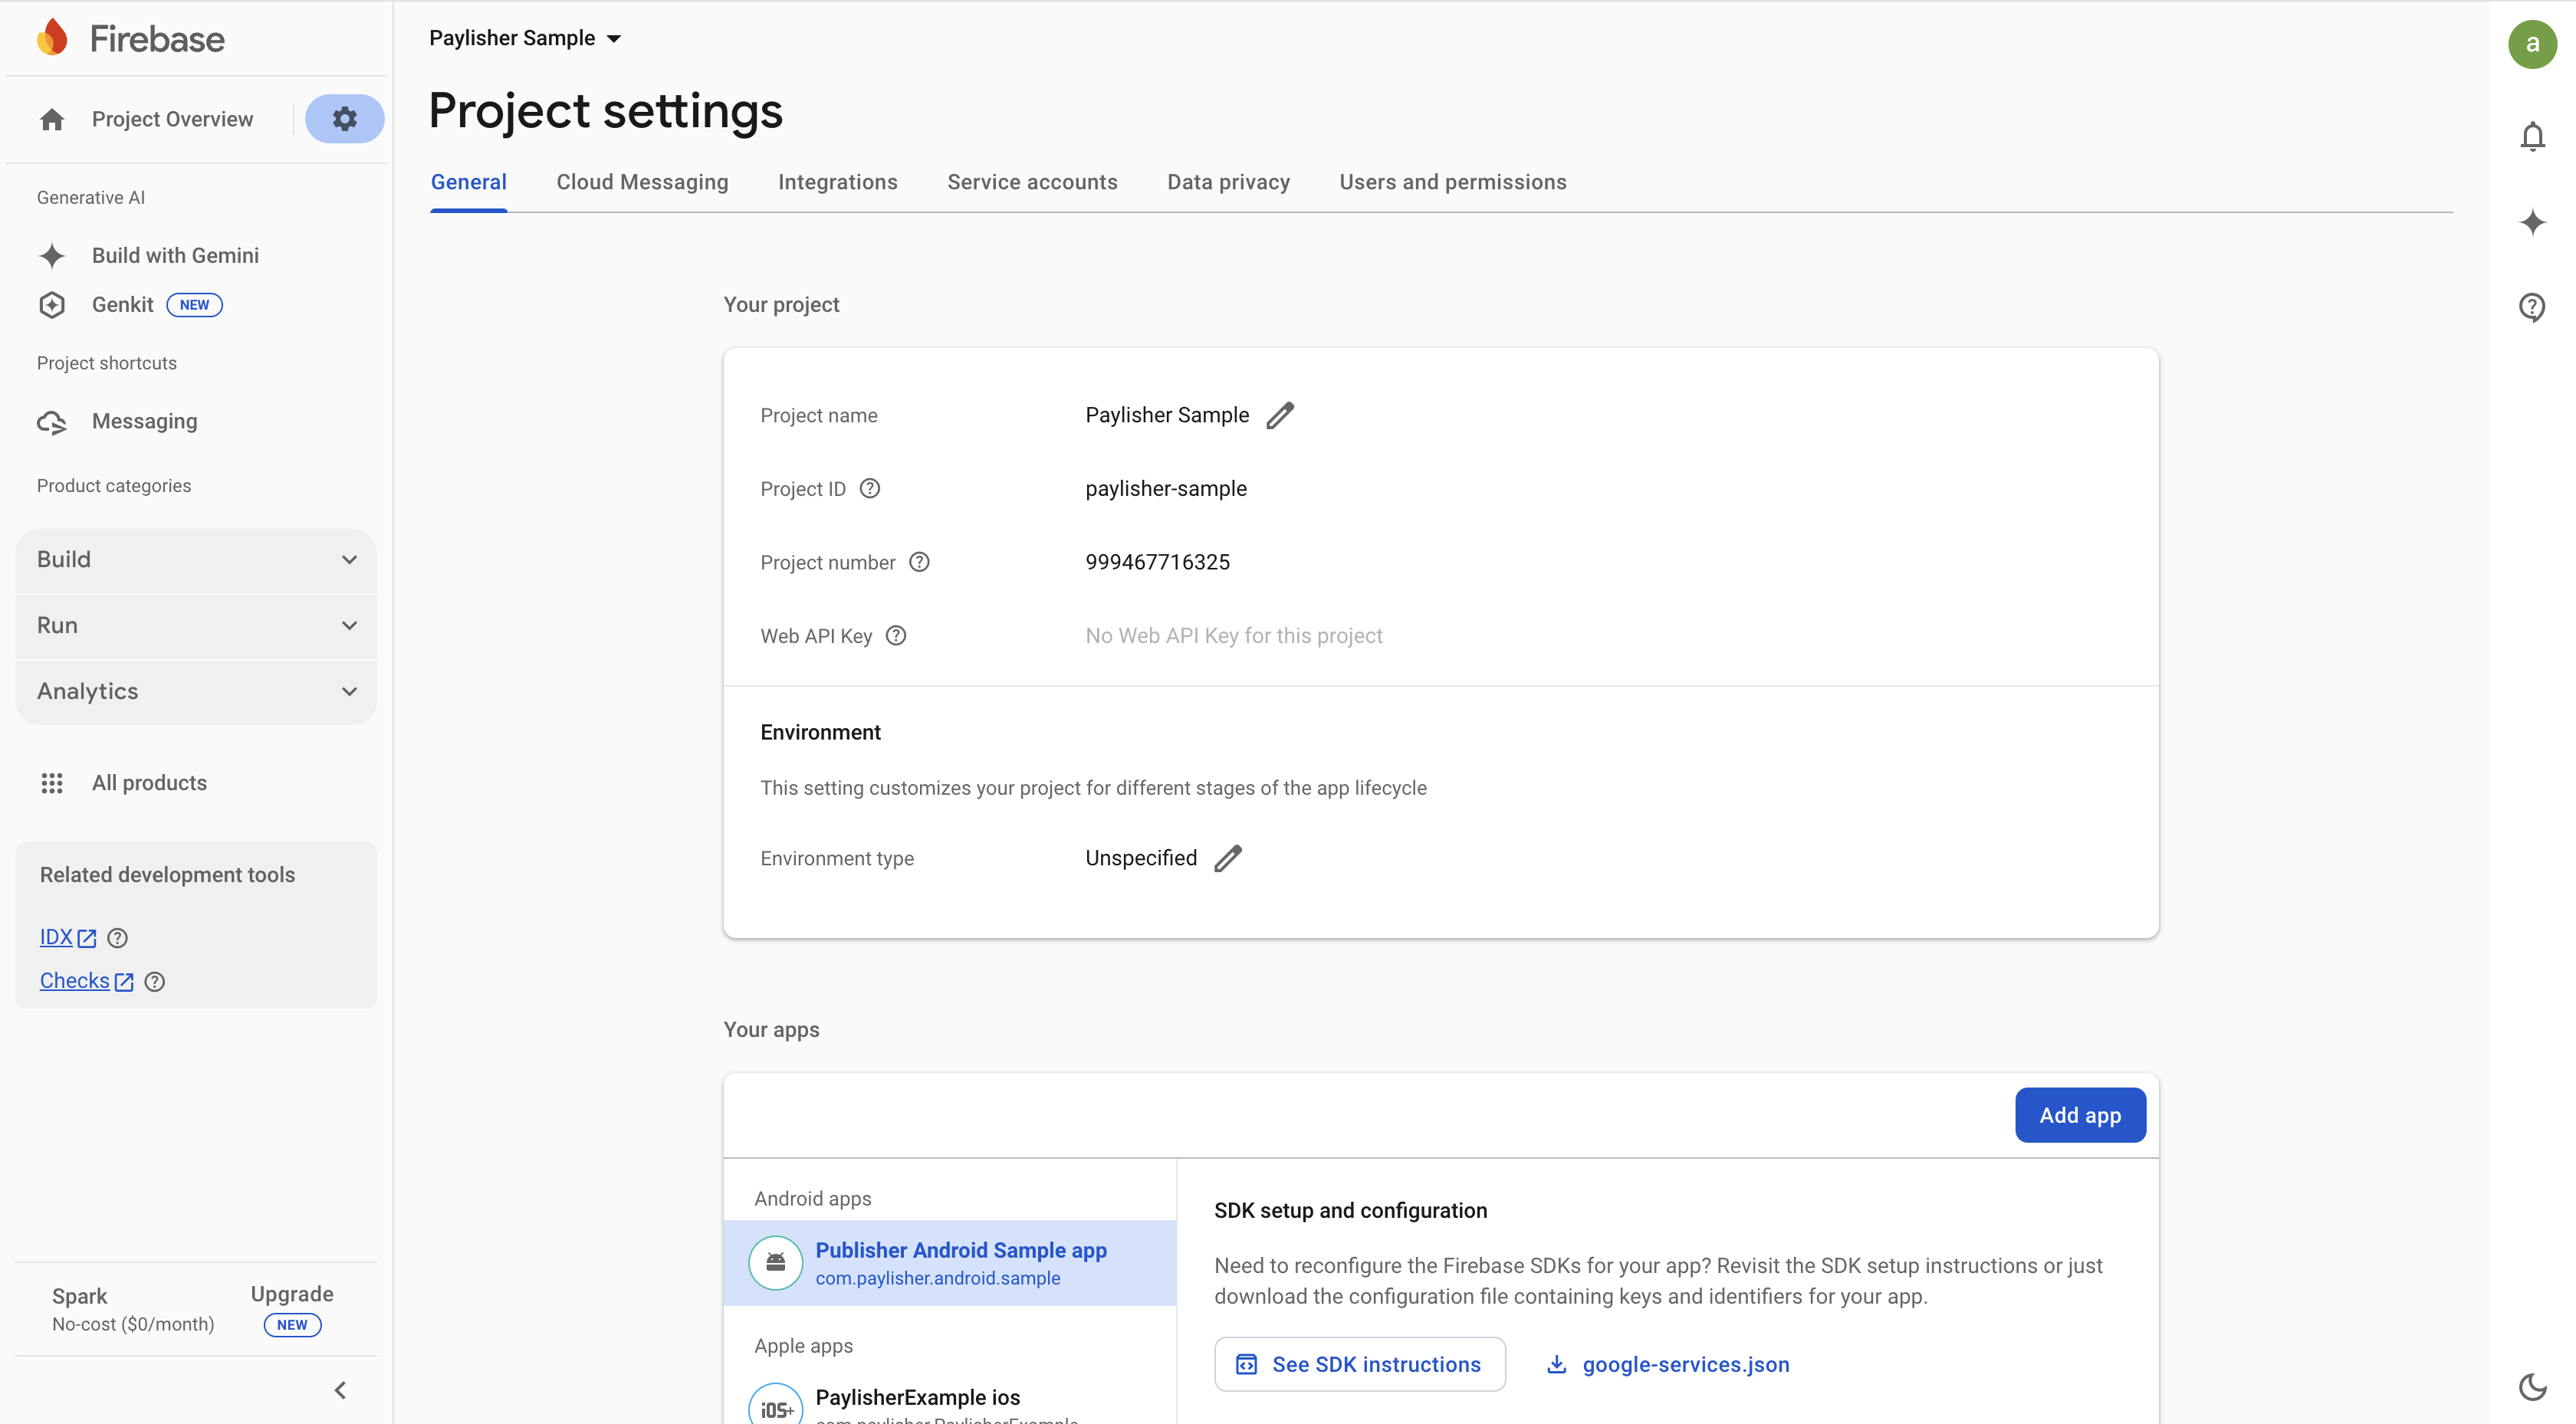
2. Navigate to Project Settings
Click on the wheel icon on the left side of the screen and select Project Settings.
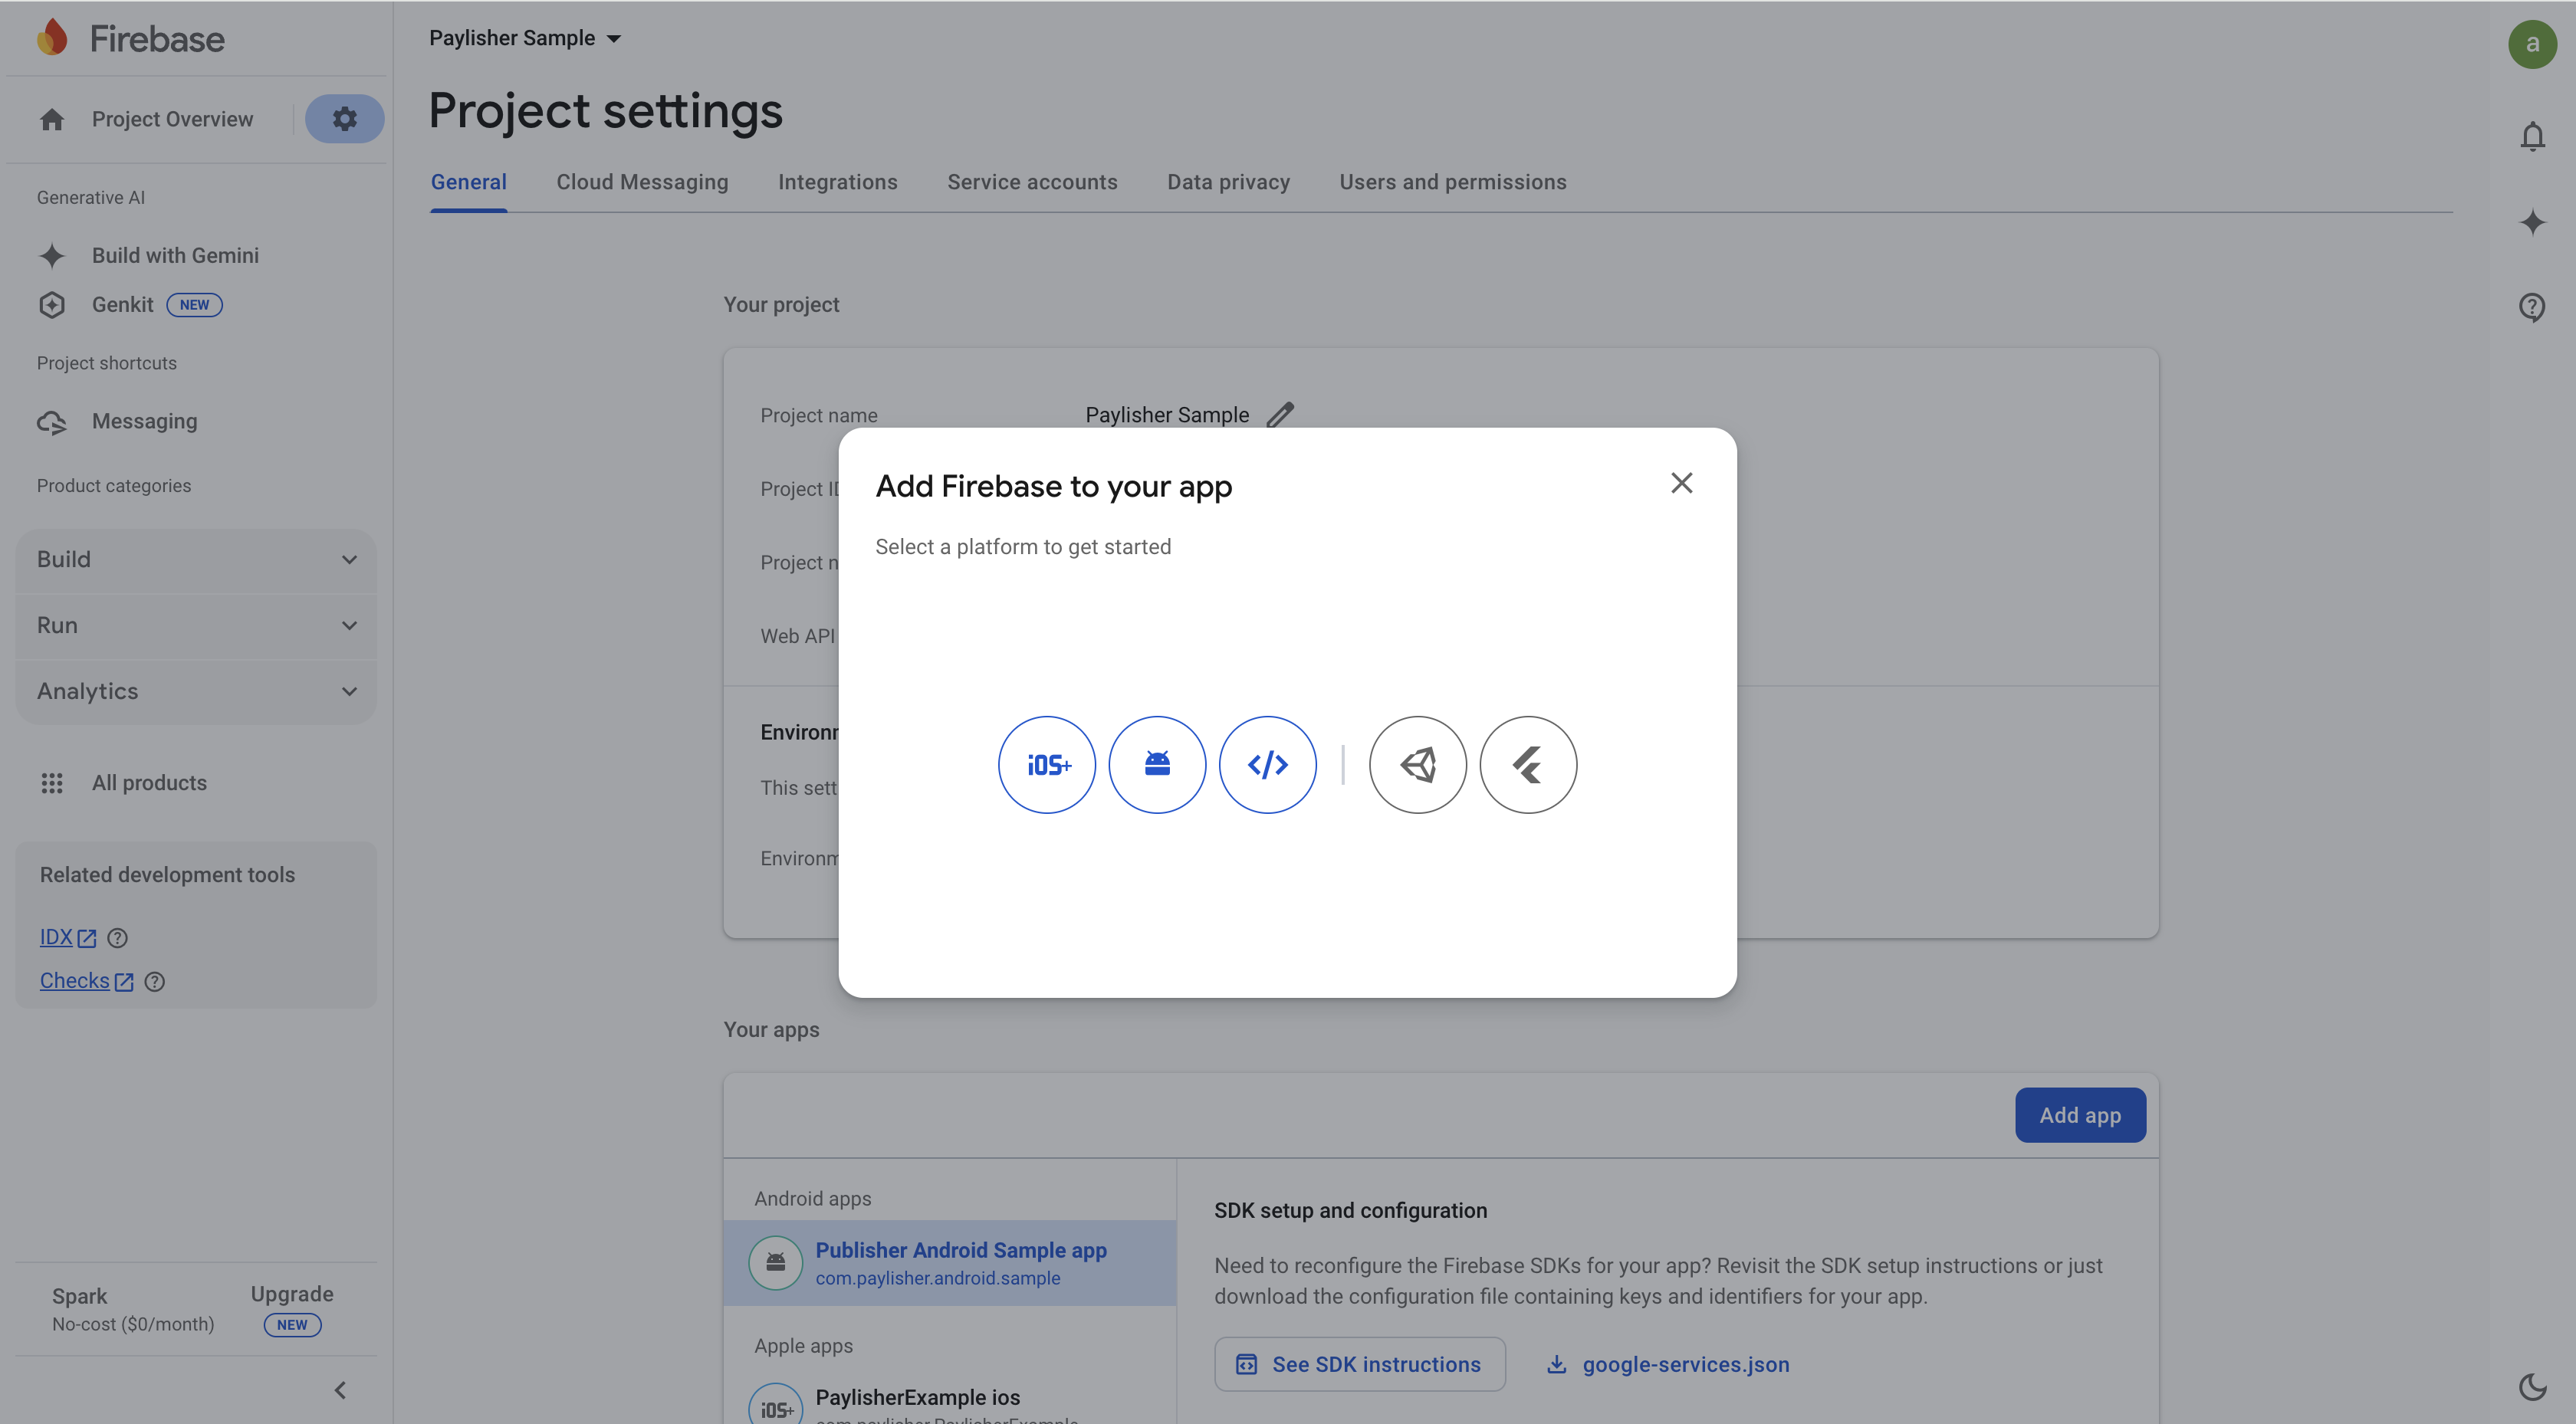
3. Create a new Android App
If you have an existing app, you can skip this step. Otherwise, you can create a new Android app by clicking Android Icon and following the on-screen instructions.
Click on the Android Icon to create a new Android app.
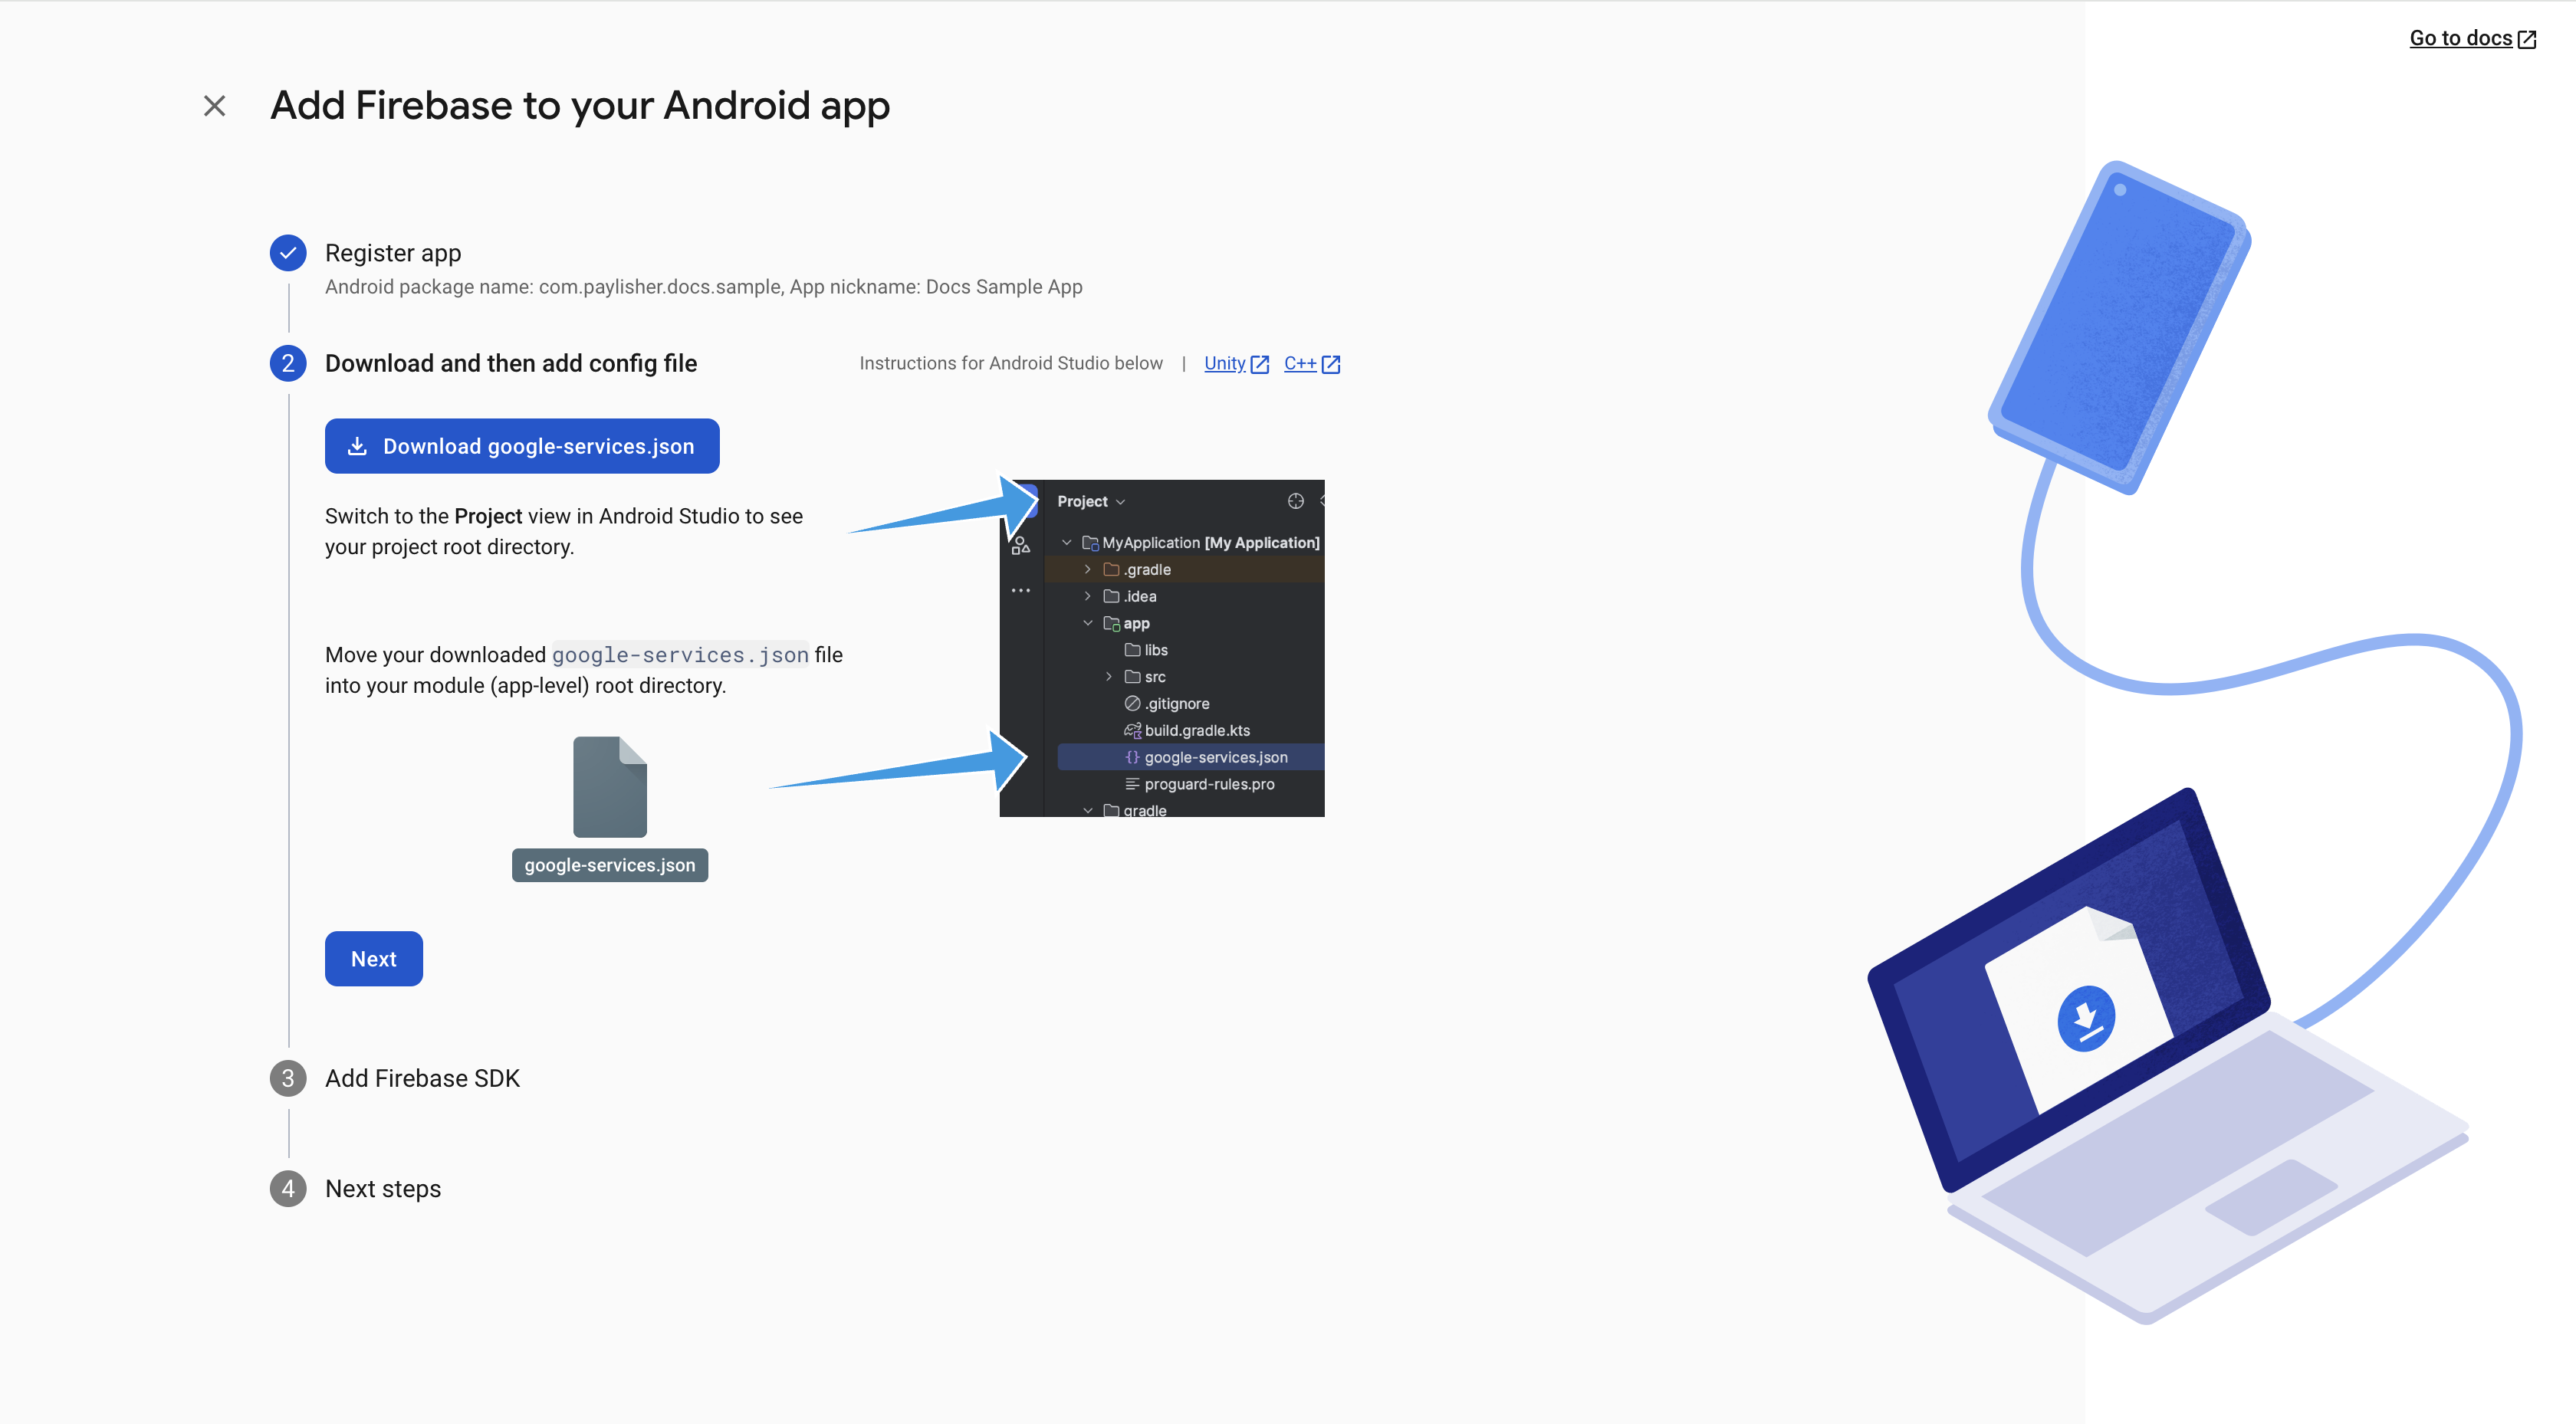
Enter the Android package name and App nickname and click Register app.
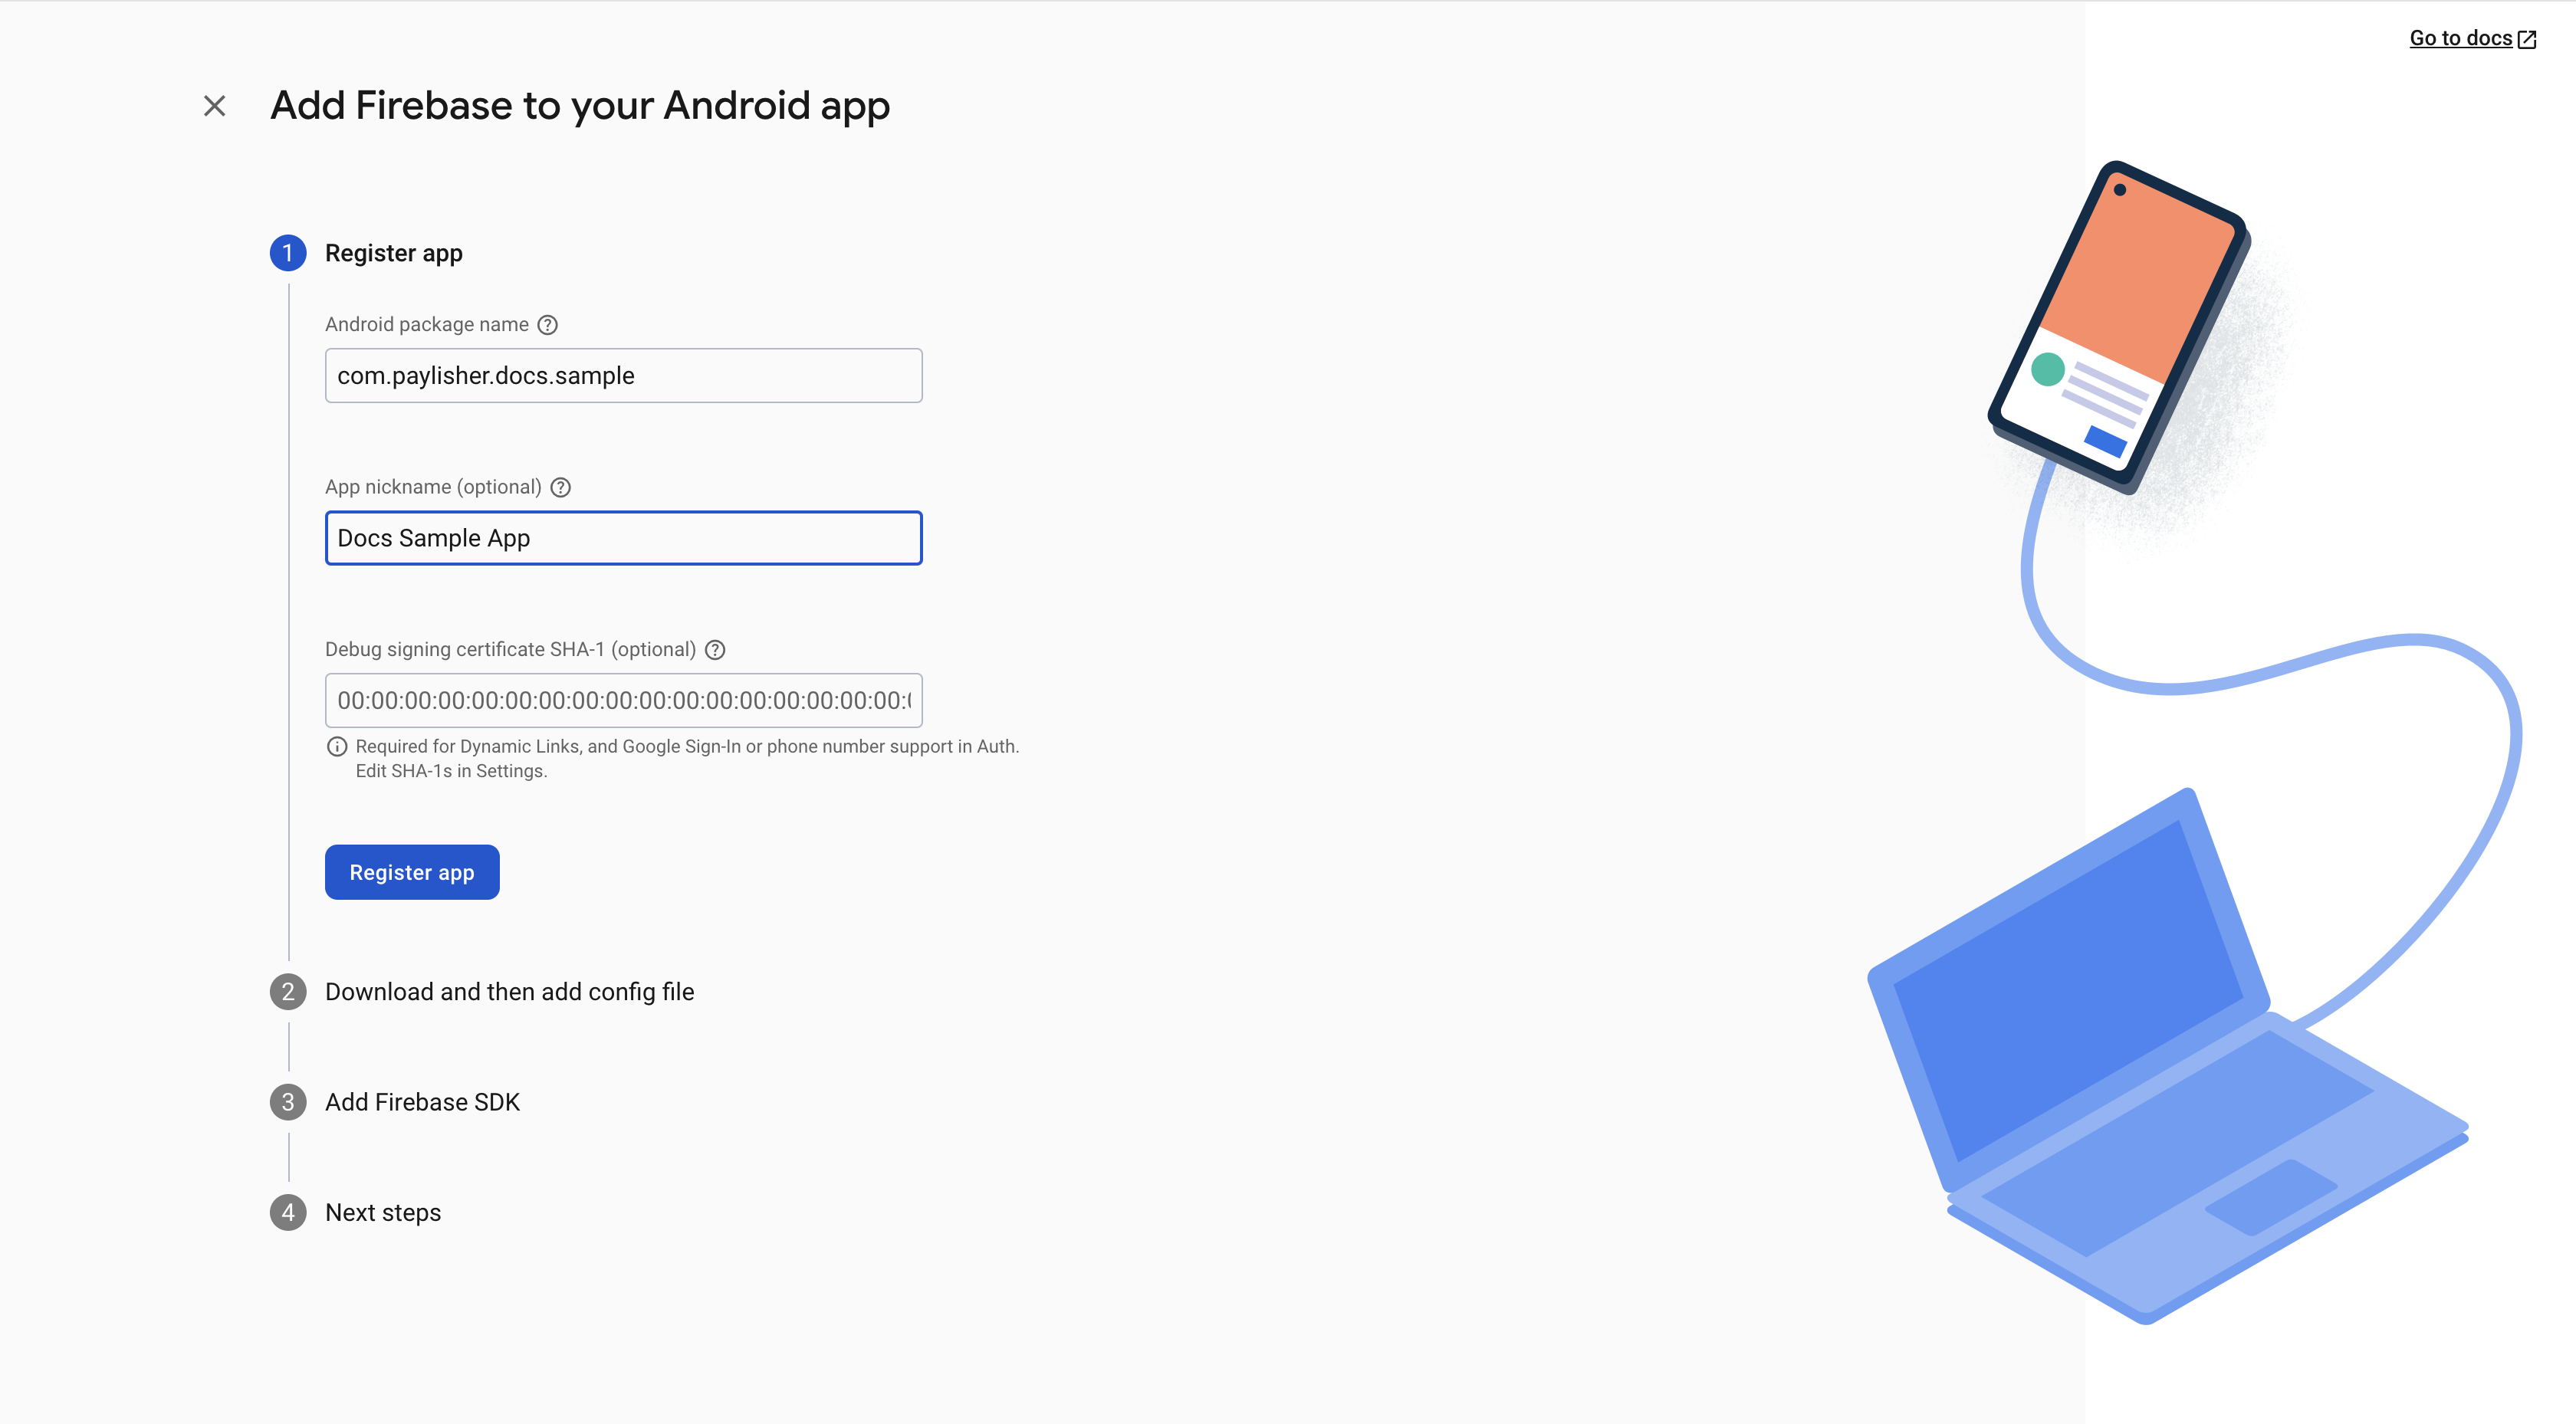
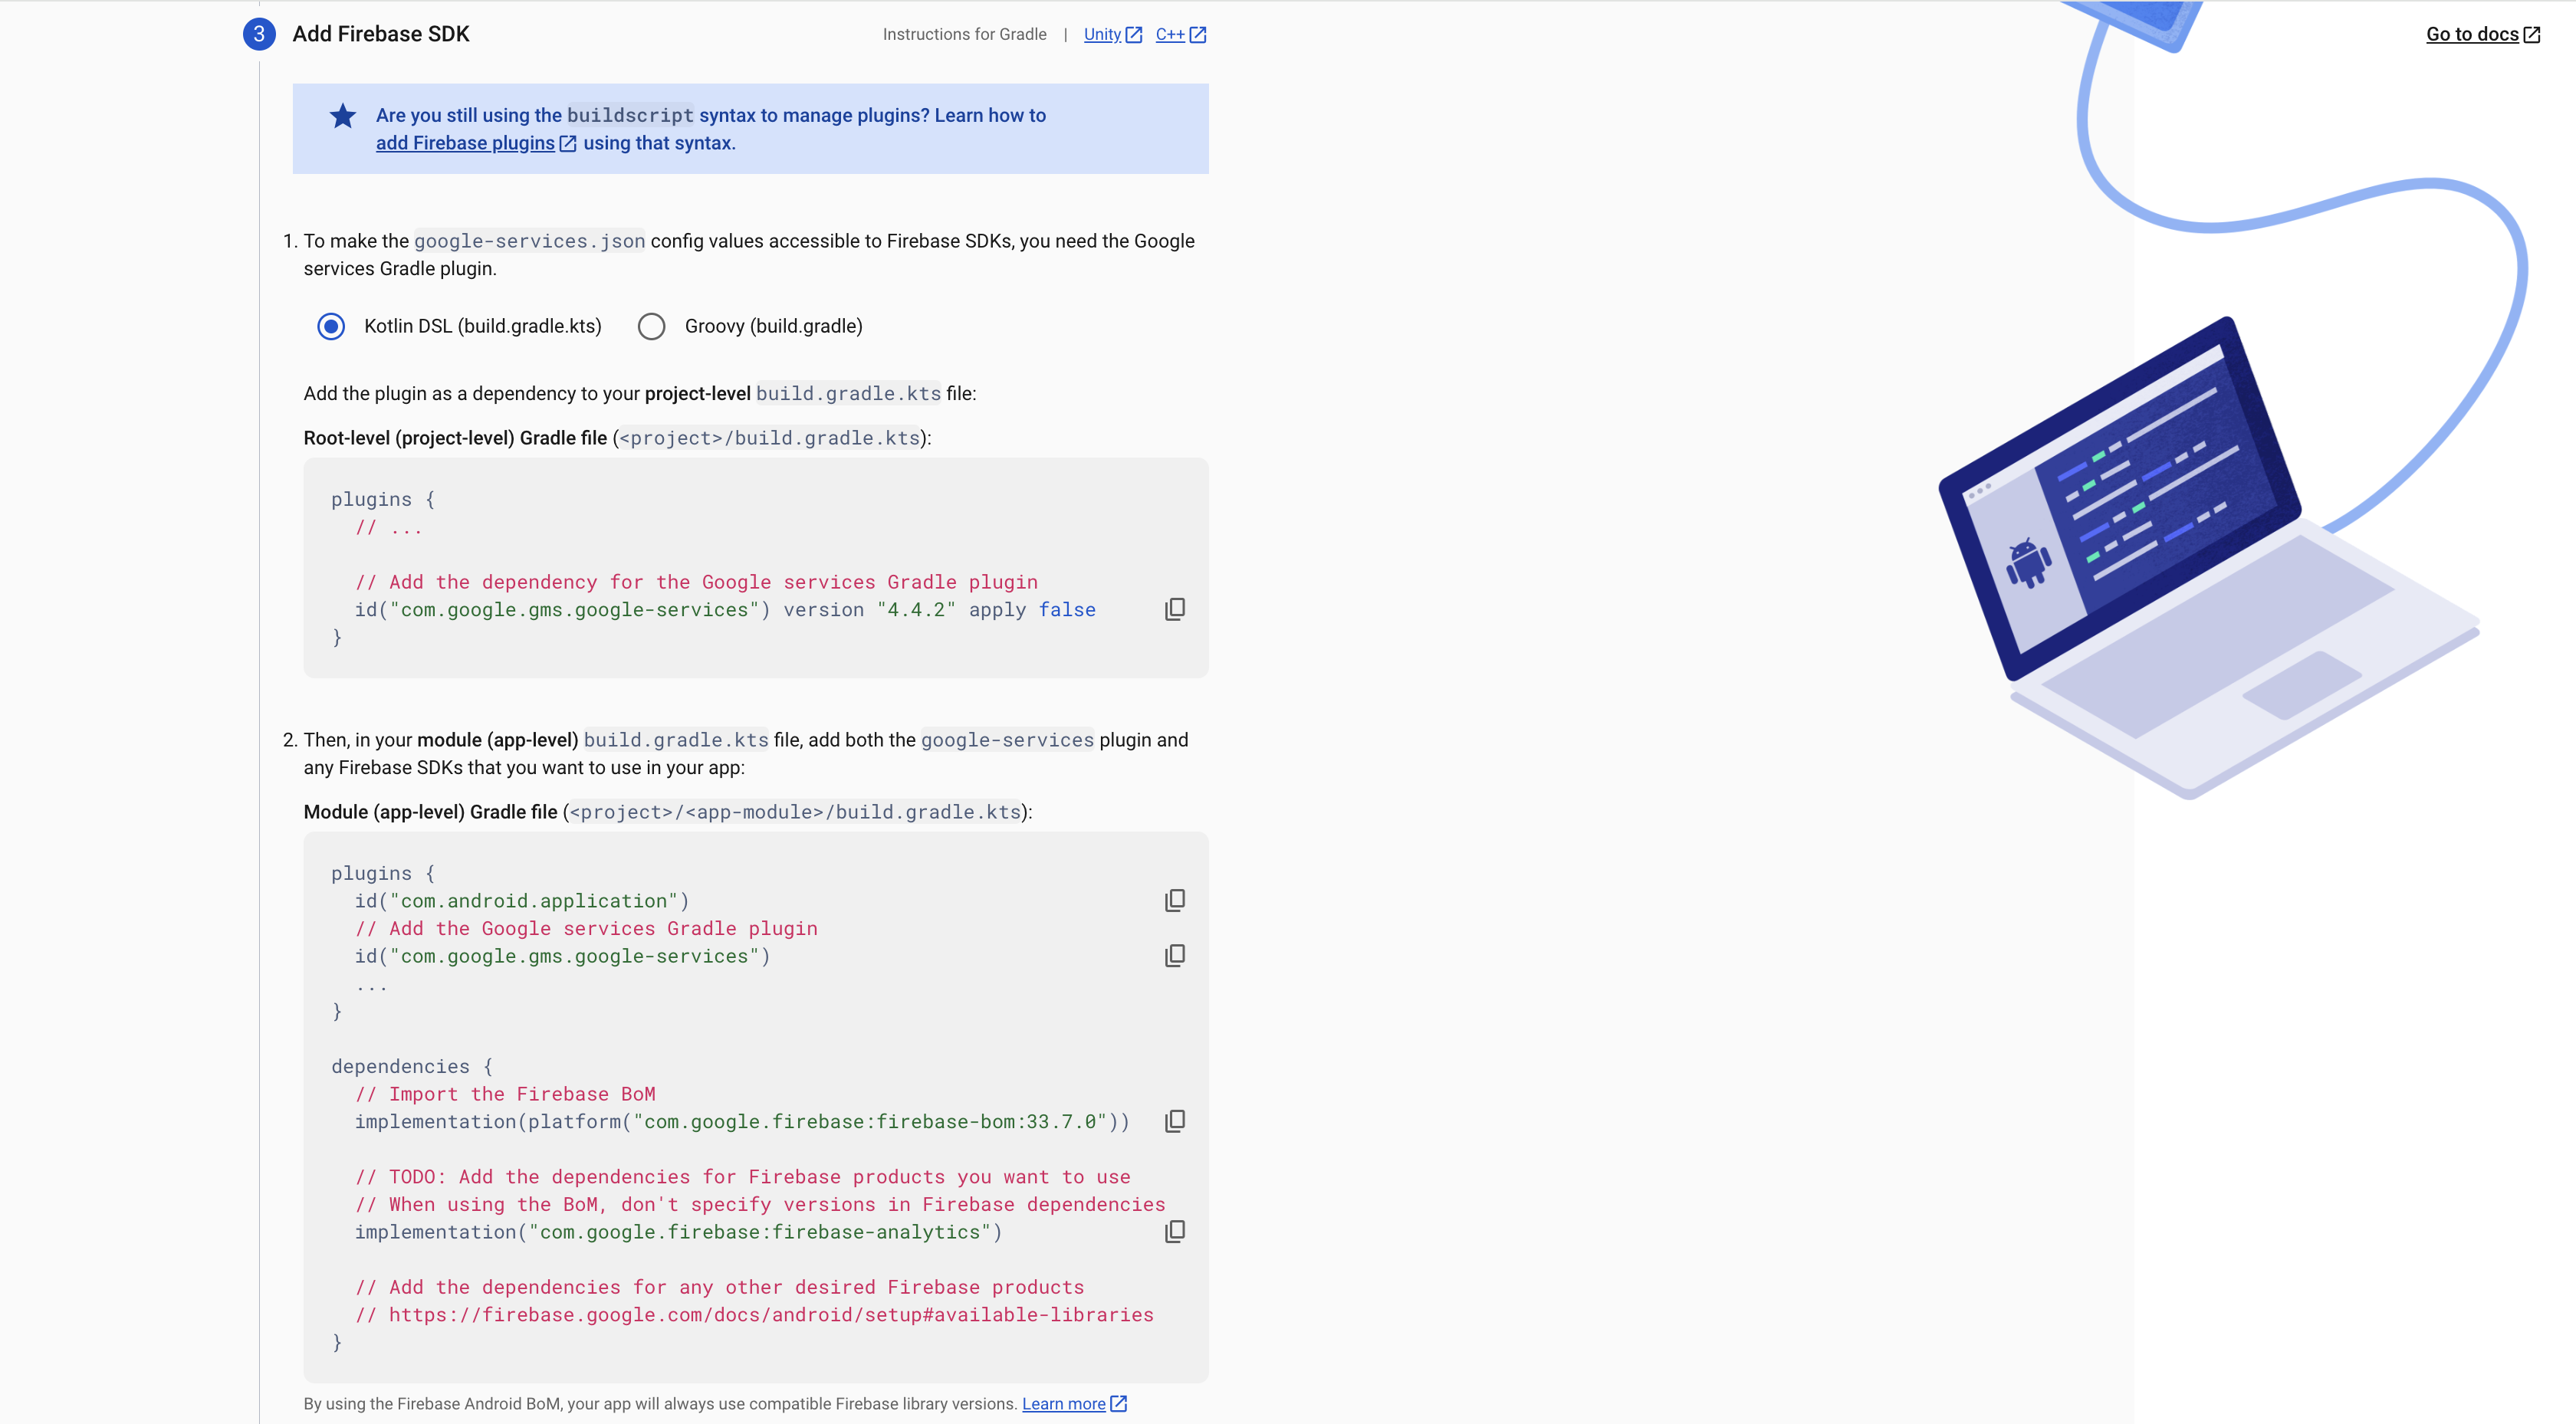
Follow the on-screen instructions to download the google-services.json file and add it to your Android project.

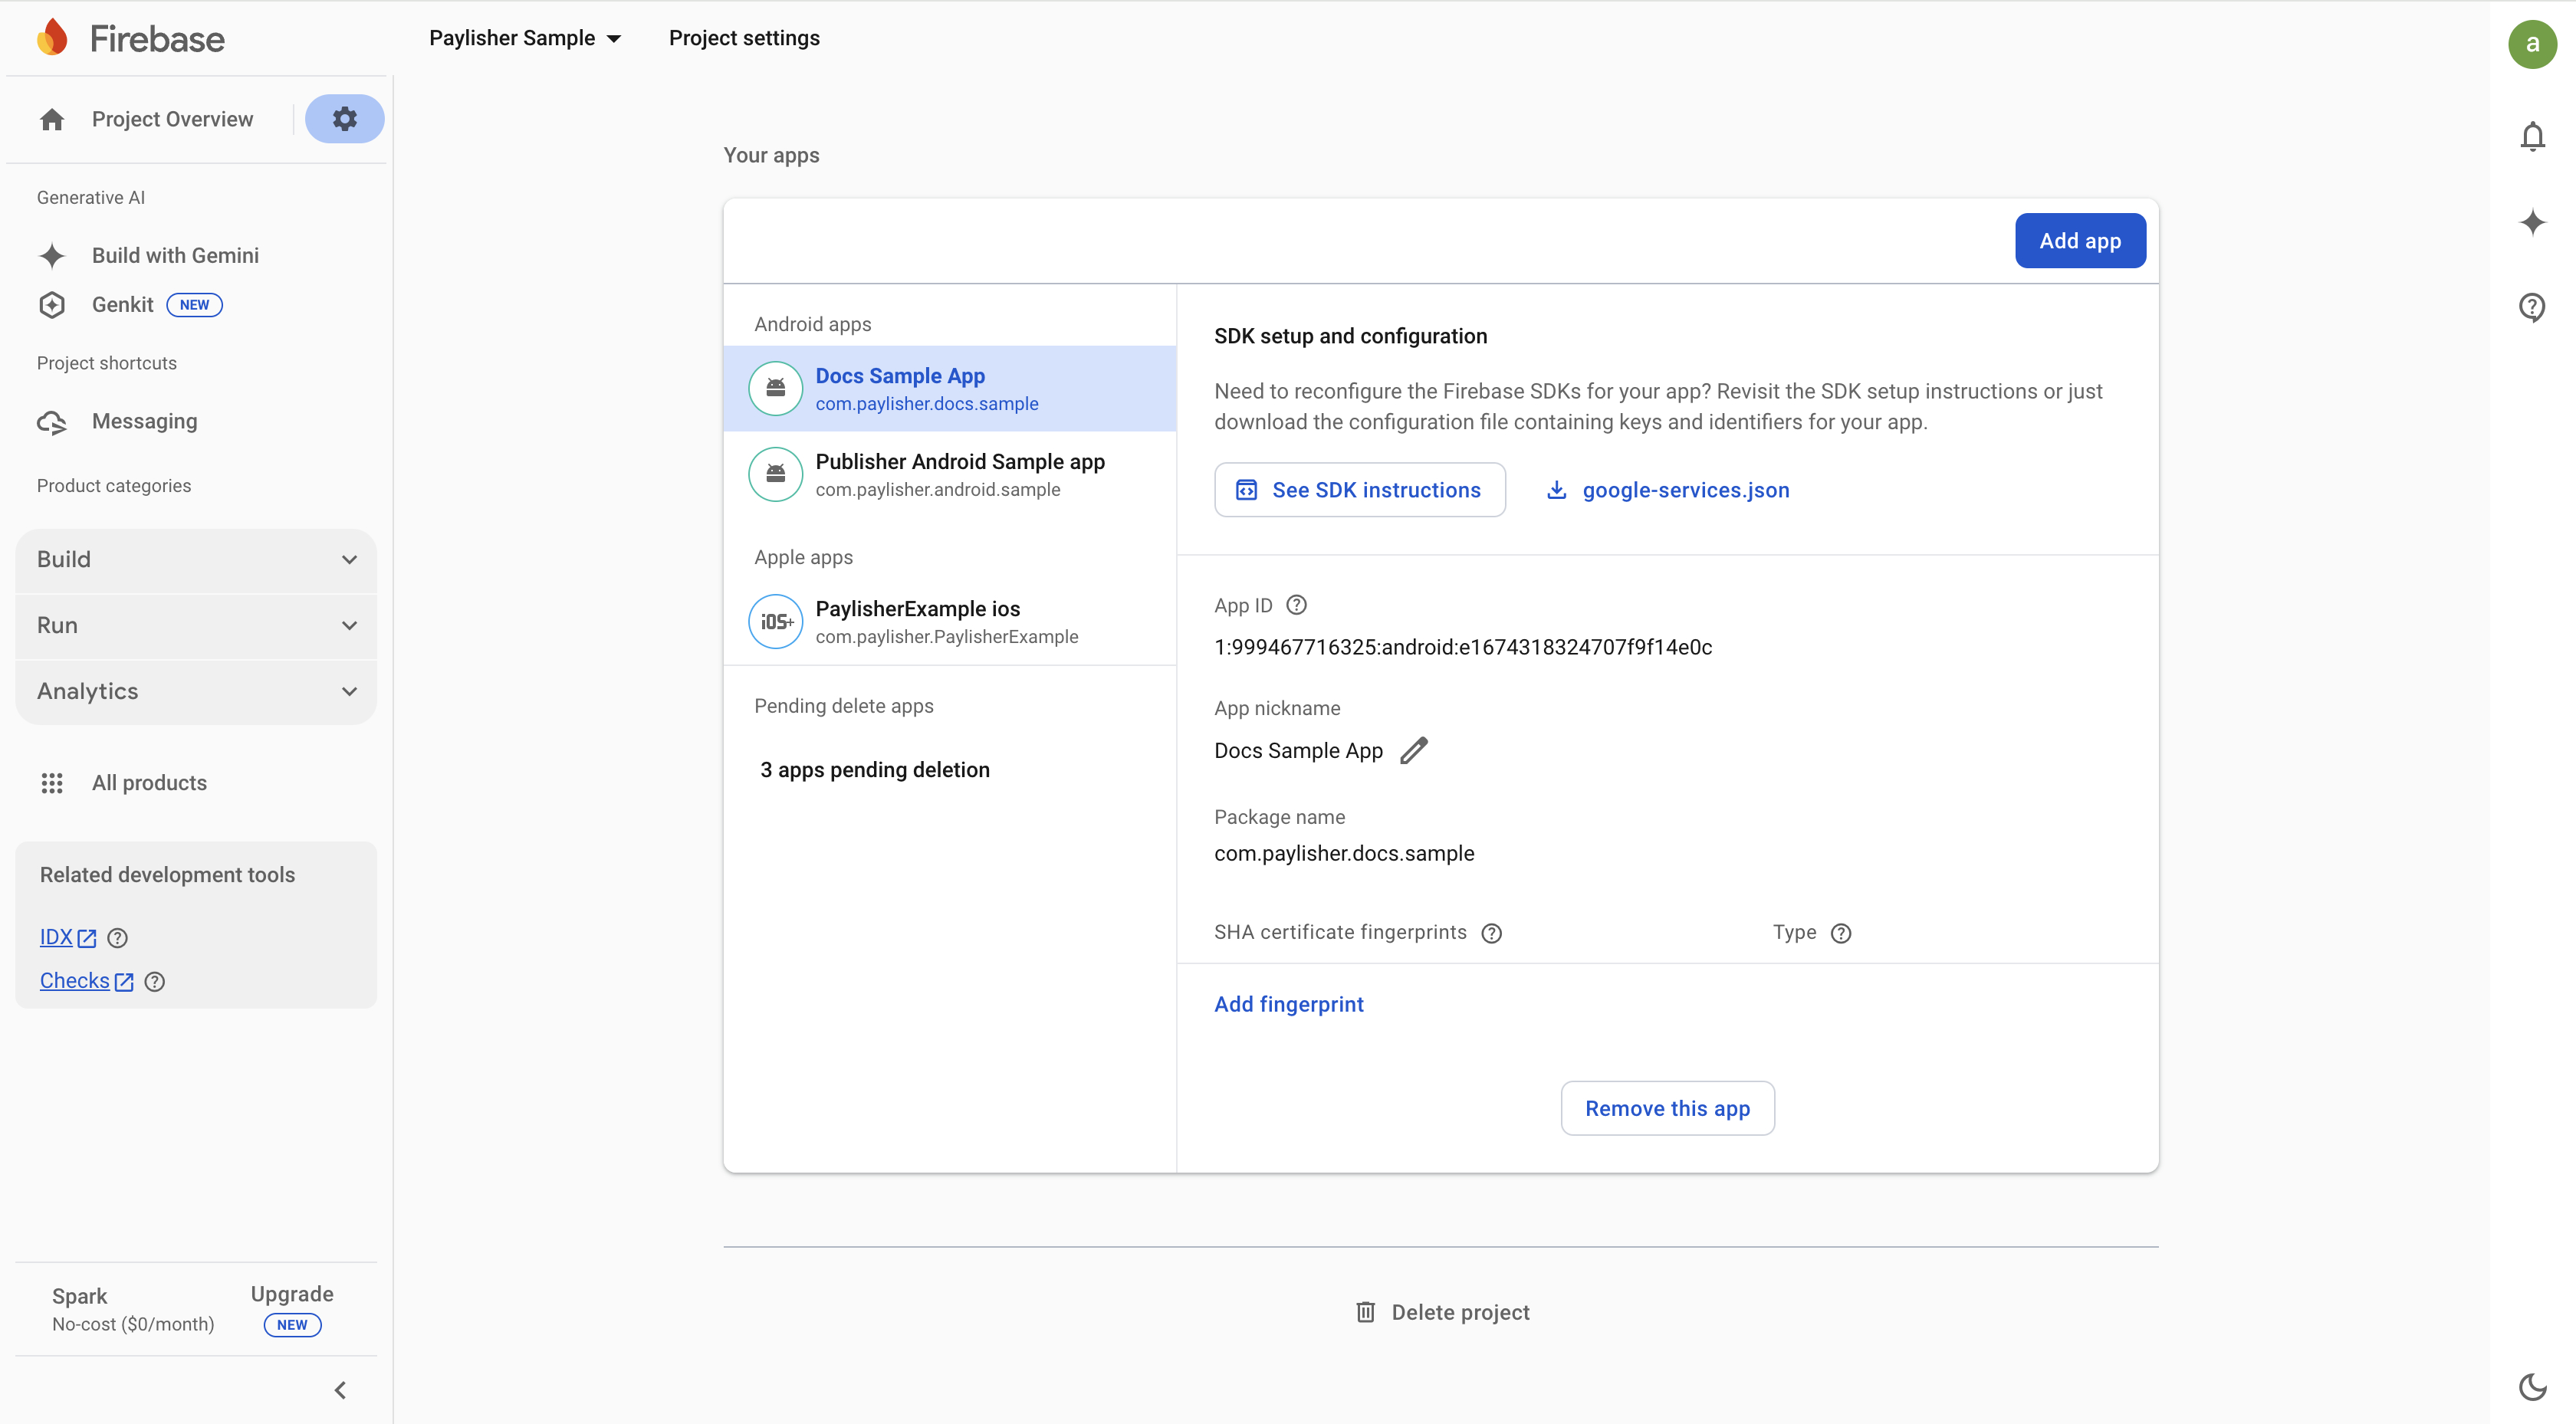
4. Add JSON file to your Android project
If you have an existing app, select it from ‘Your Apps’ menu and download the google-services.json. Click on ‘See SDK Instructions’ button to see the instructions on how to add the google-services.json file to your Android project. You may skip this step if you have already added the google-services.json file to your Android project.
Step 3. Handle FCM Sender ID (Optional)
In case you have multiple SDKs that uses FCM, you should take care of the Sender ID in certain cases. If you don’t have any other SDKs that uses FCM, you can skip this step.
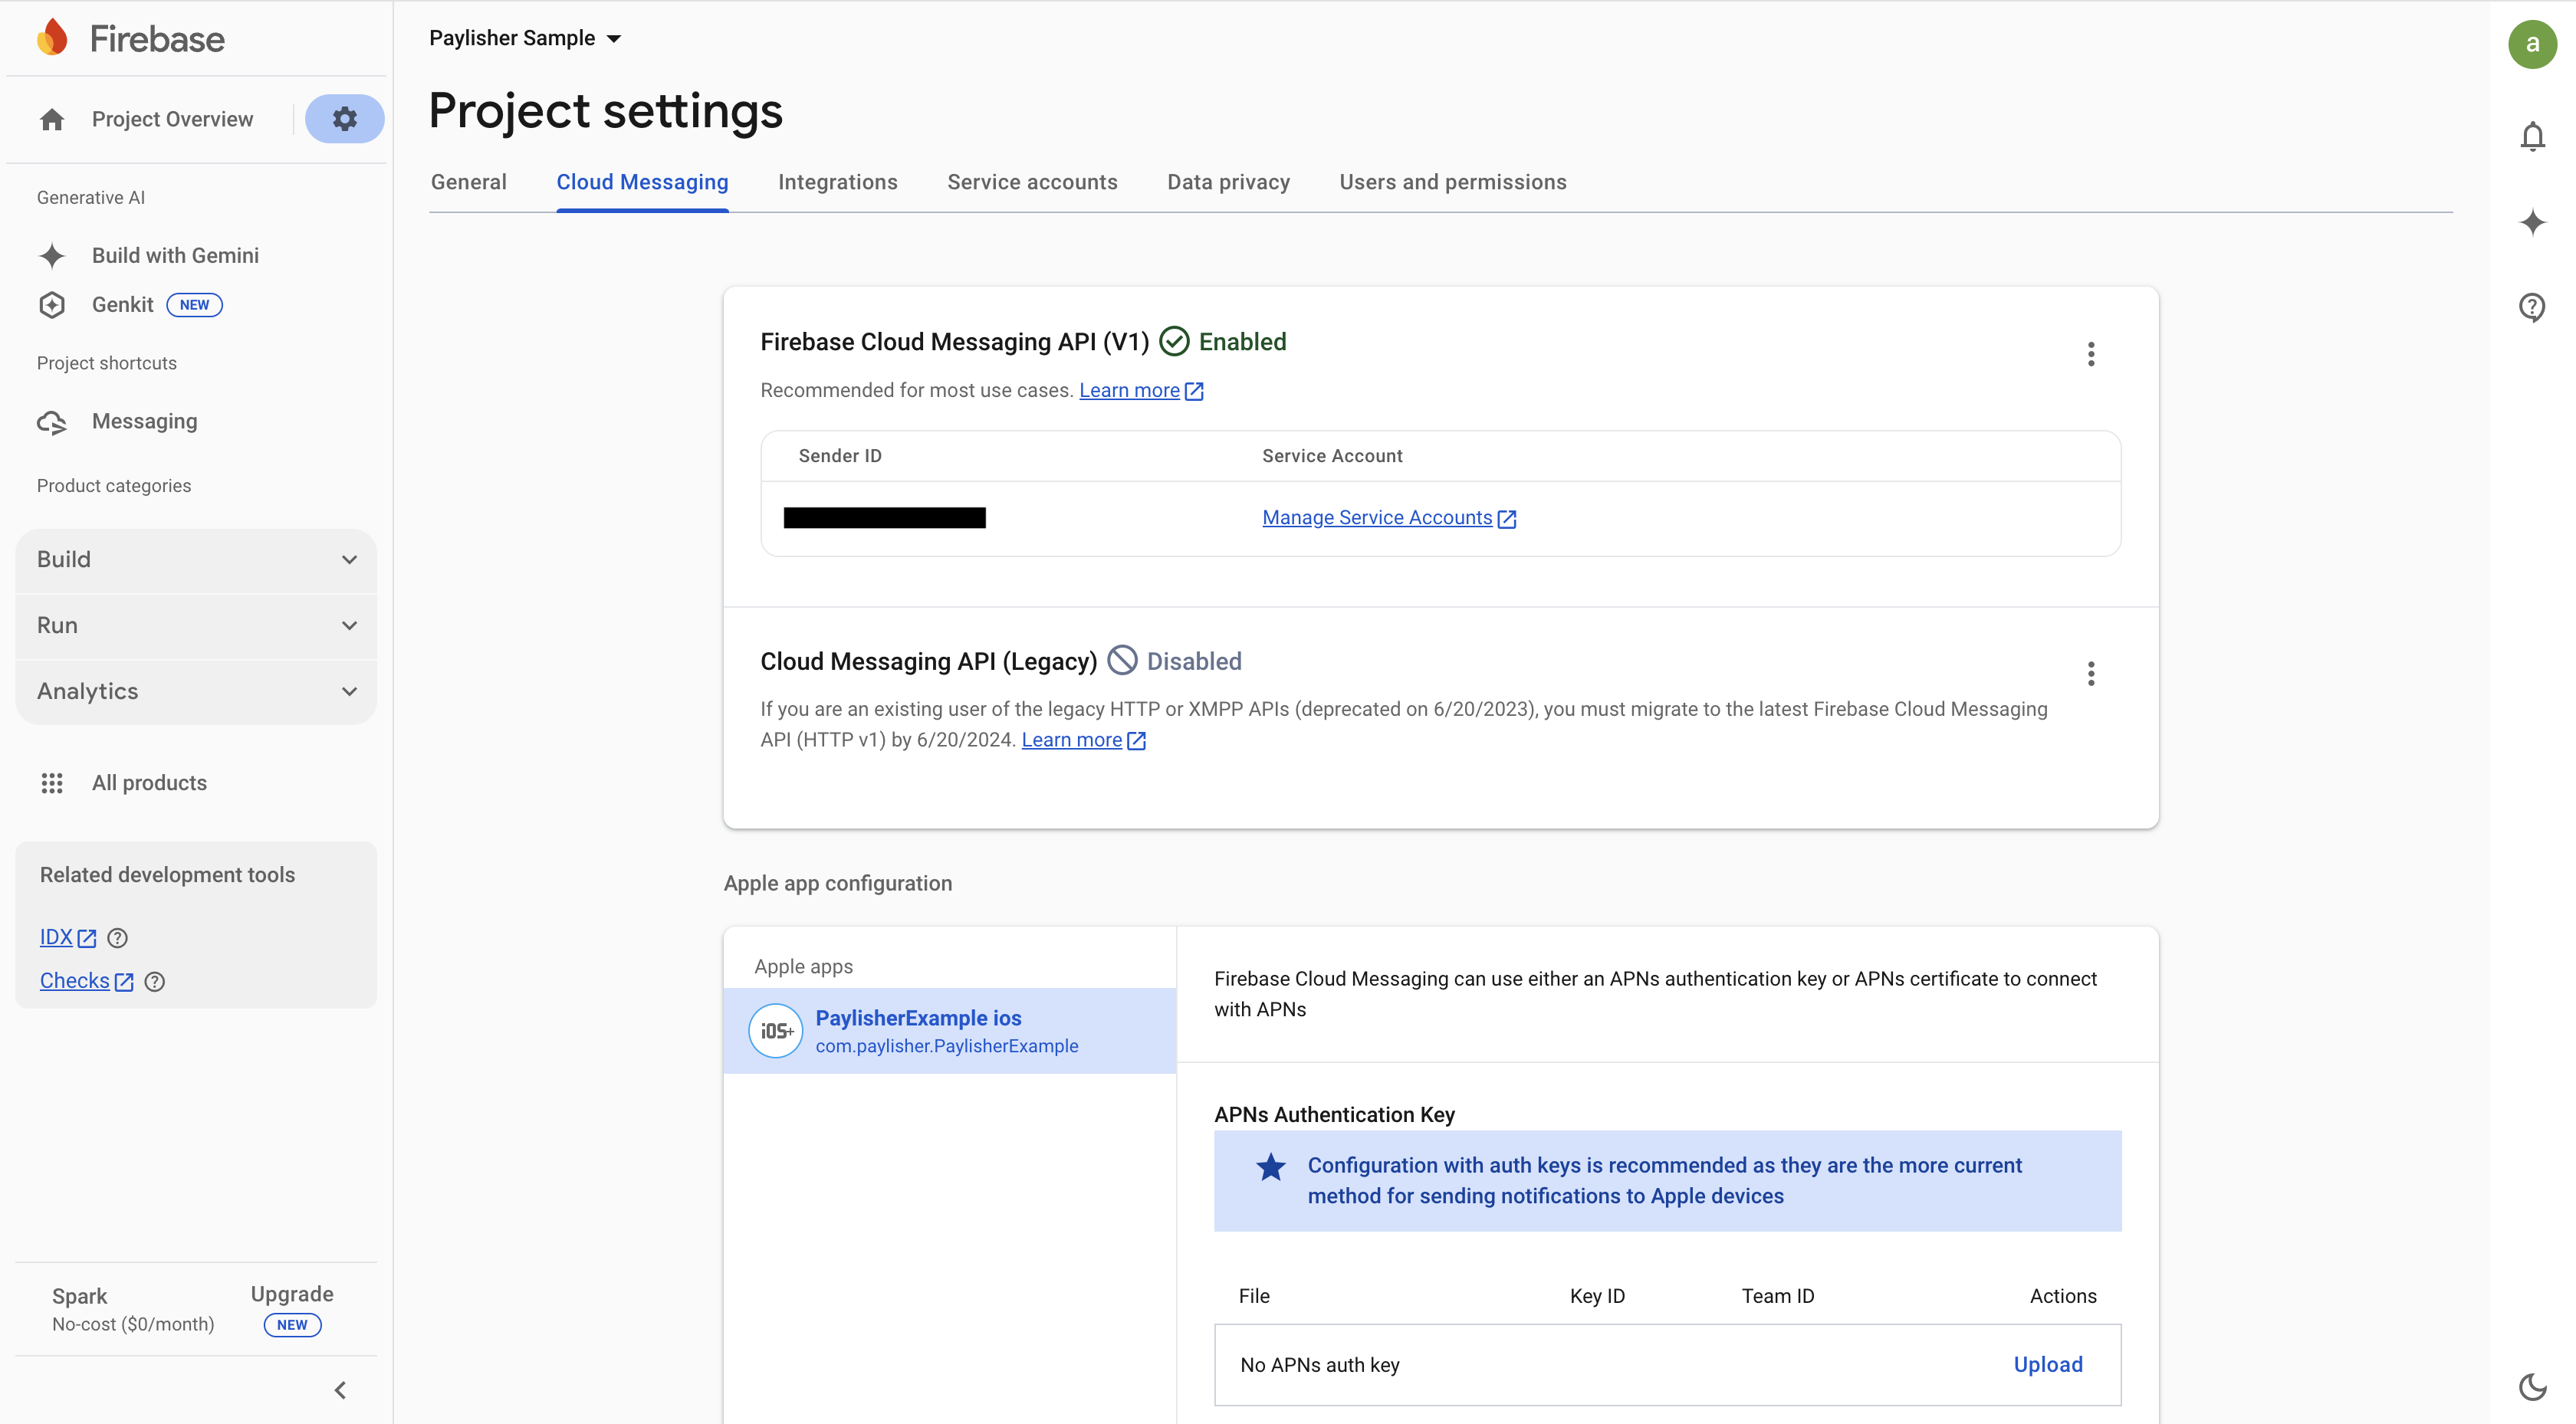
1. Navigate to Cloud Messaging Settings
Navigate to the Project Settings, click on the Cloud Messaging tab and take note of the Sender ID.
You need to use the sender id, which is also present in the Remote Message, to decide which SDK should handle the remote message. You can check the code snippet below as an example:
TODO
import com.paylisher.android.notification.FCMReceiverHelper

const val SENDER_ID_PAYLISHER = "0000001"

class FcmMessagingService : FirebaseMessagingService() {

    override fun onMessageReceived(remoteMessage: RemoteMessage) {
        super.onMessageReceived(remoteMessage)
        when (remoteMessage.from) {
            SENDER_ID_PAYLISHER -> { FCMReceiverHelper.onMessageReceived(this, remoteMessage) }
            else -> { /* Handle remote message from other senders */
            }
        }
    }

}
Step 4. Generate and Share Private Key
1. Navigate to Service Accounts Settings
Navigate to the Project Settings and click on the Service Accounts tab.
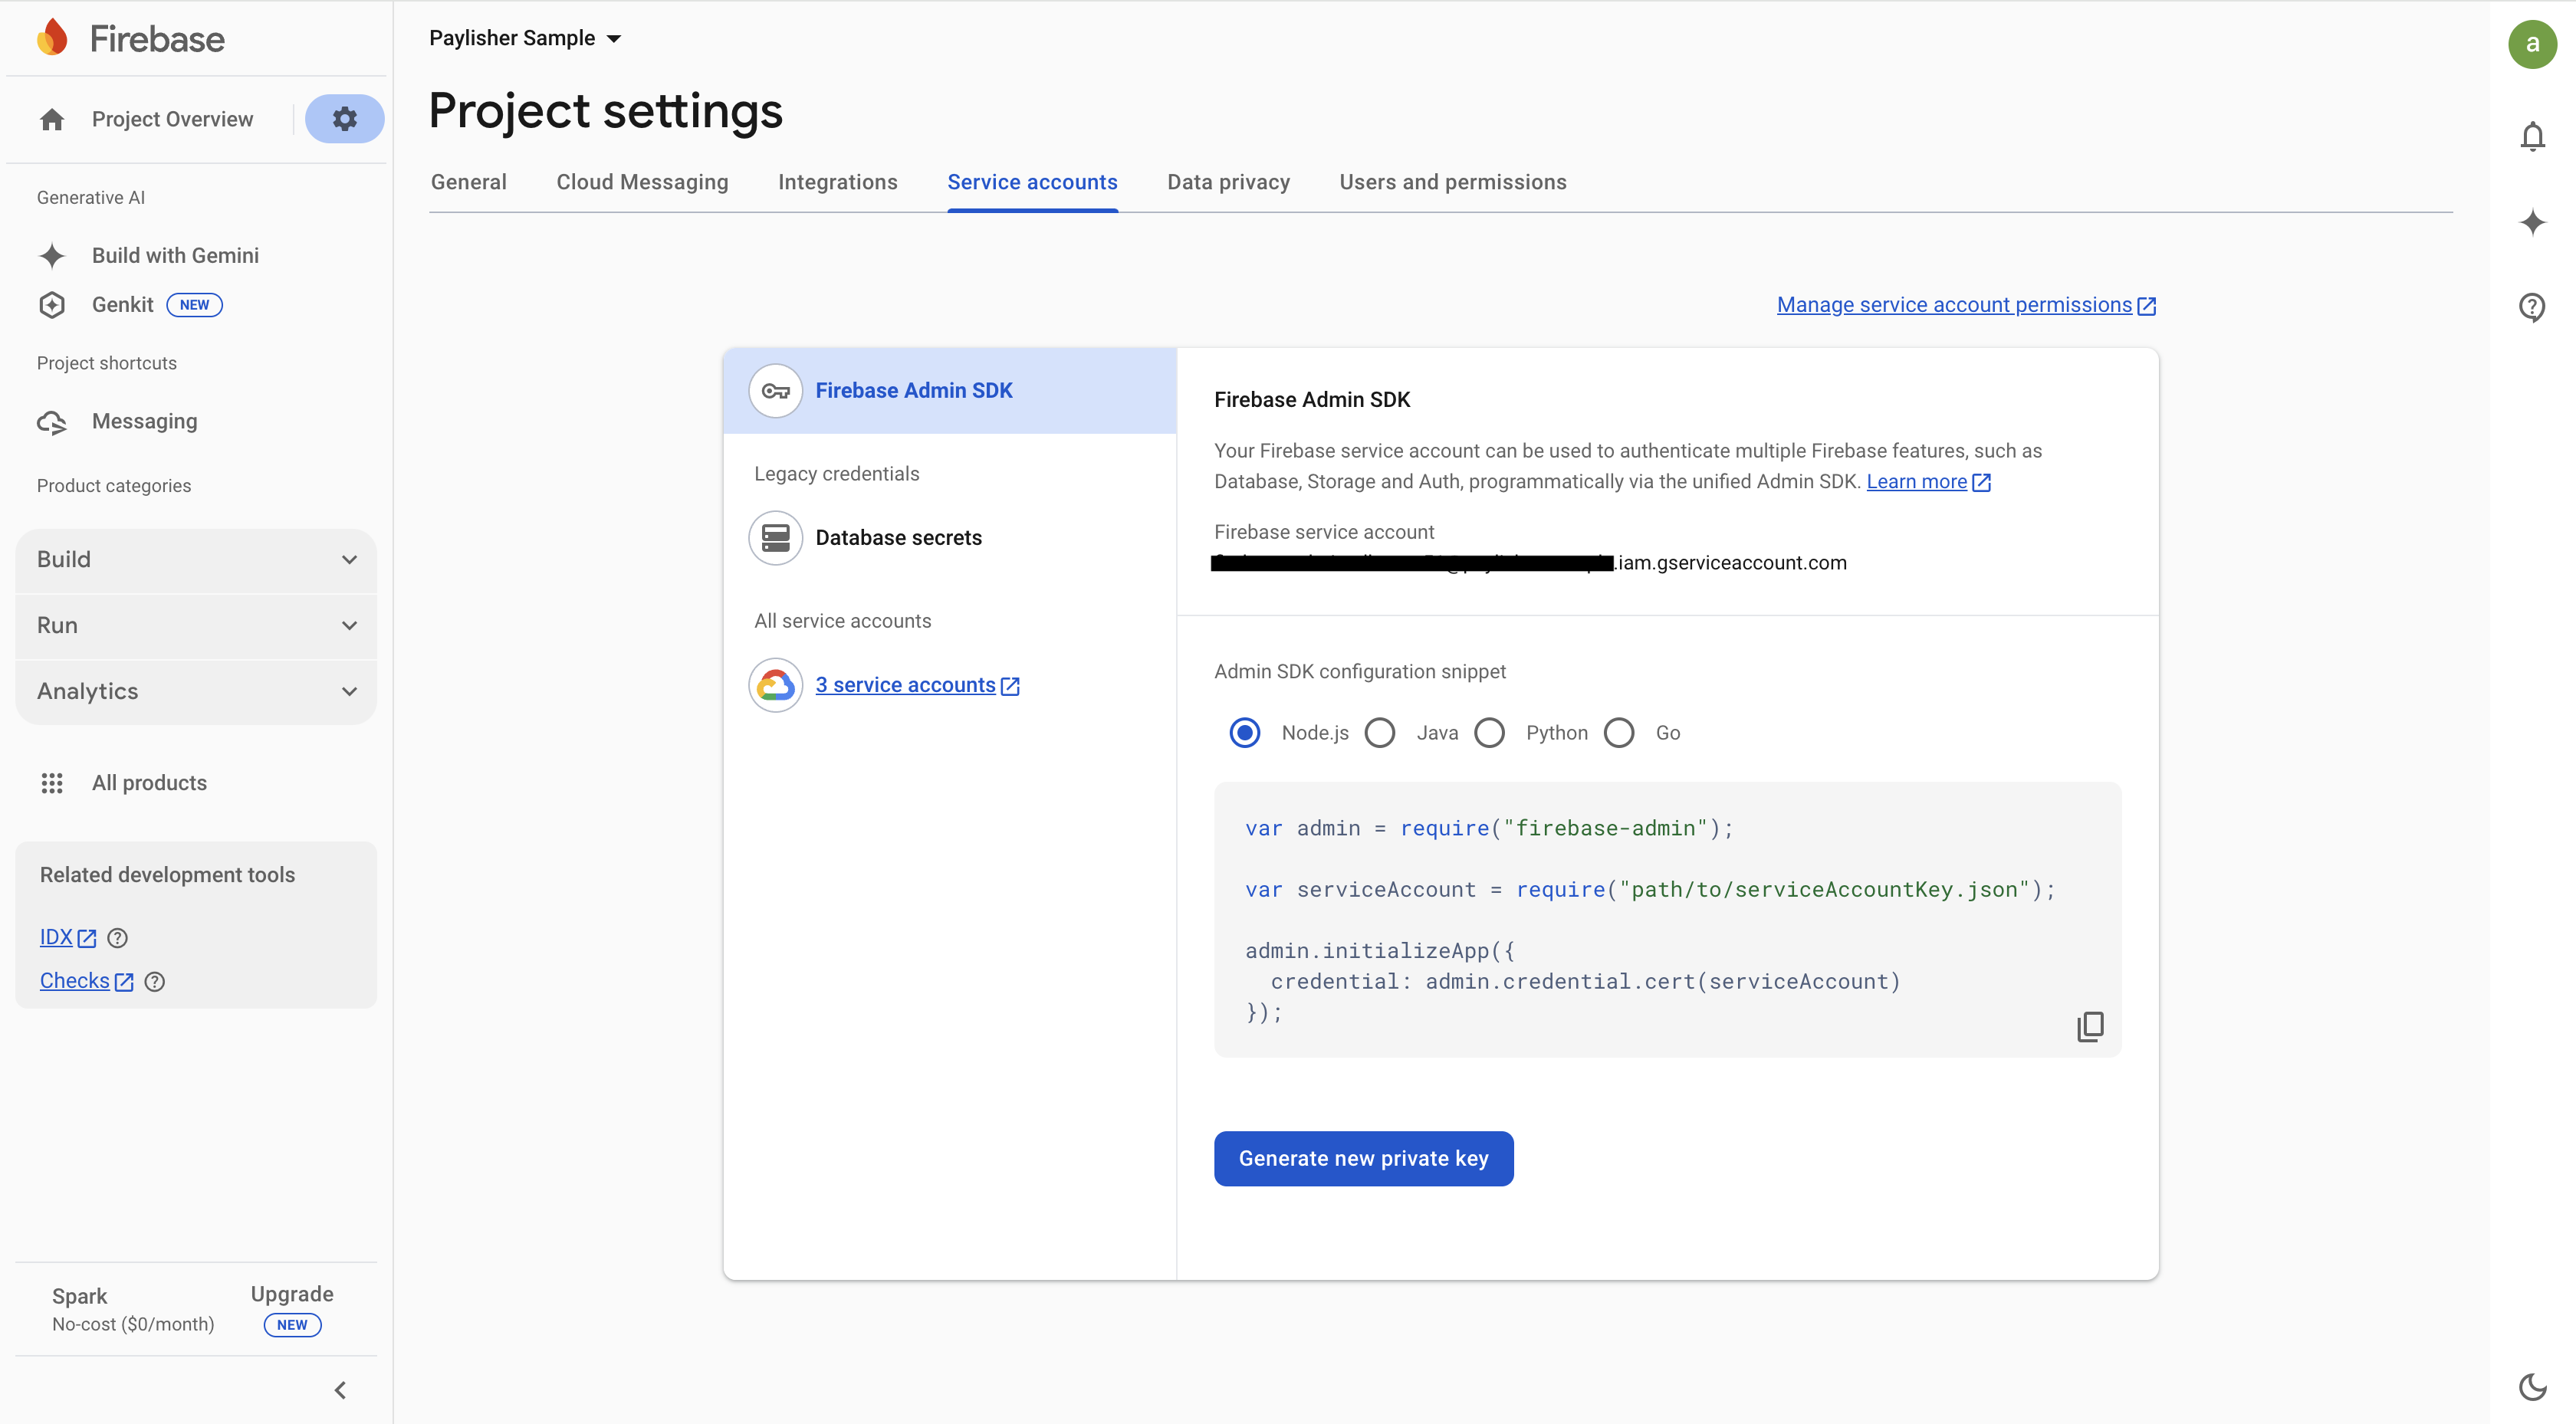
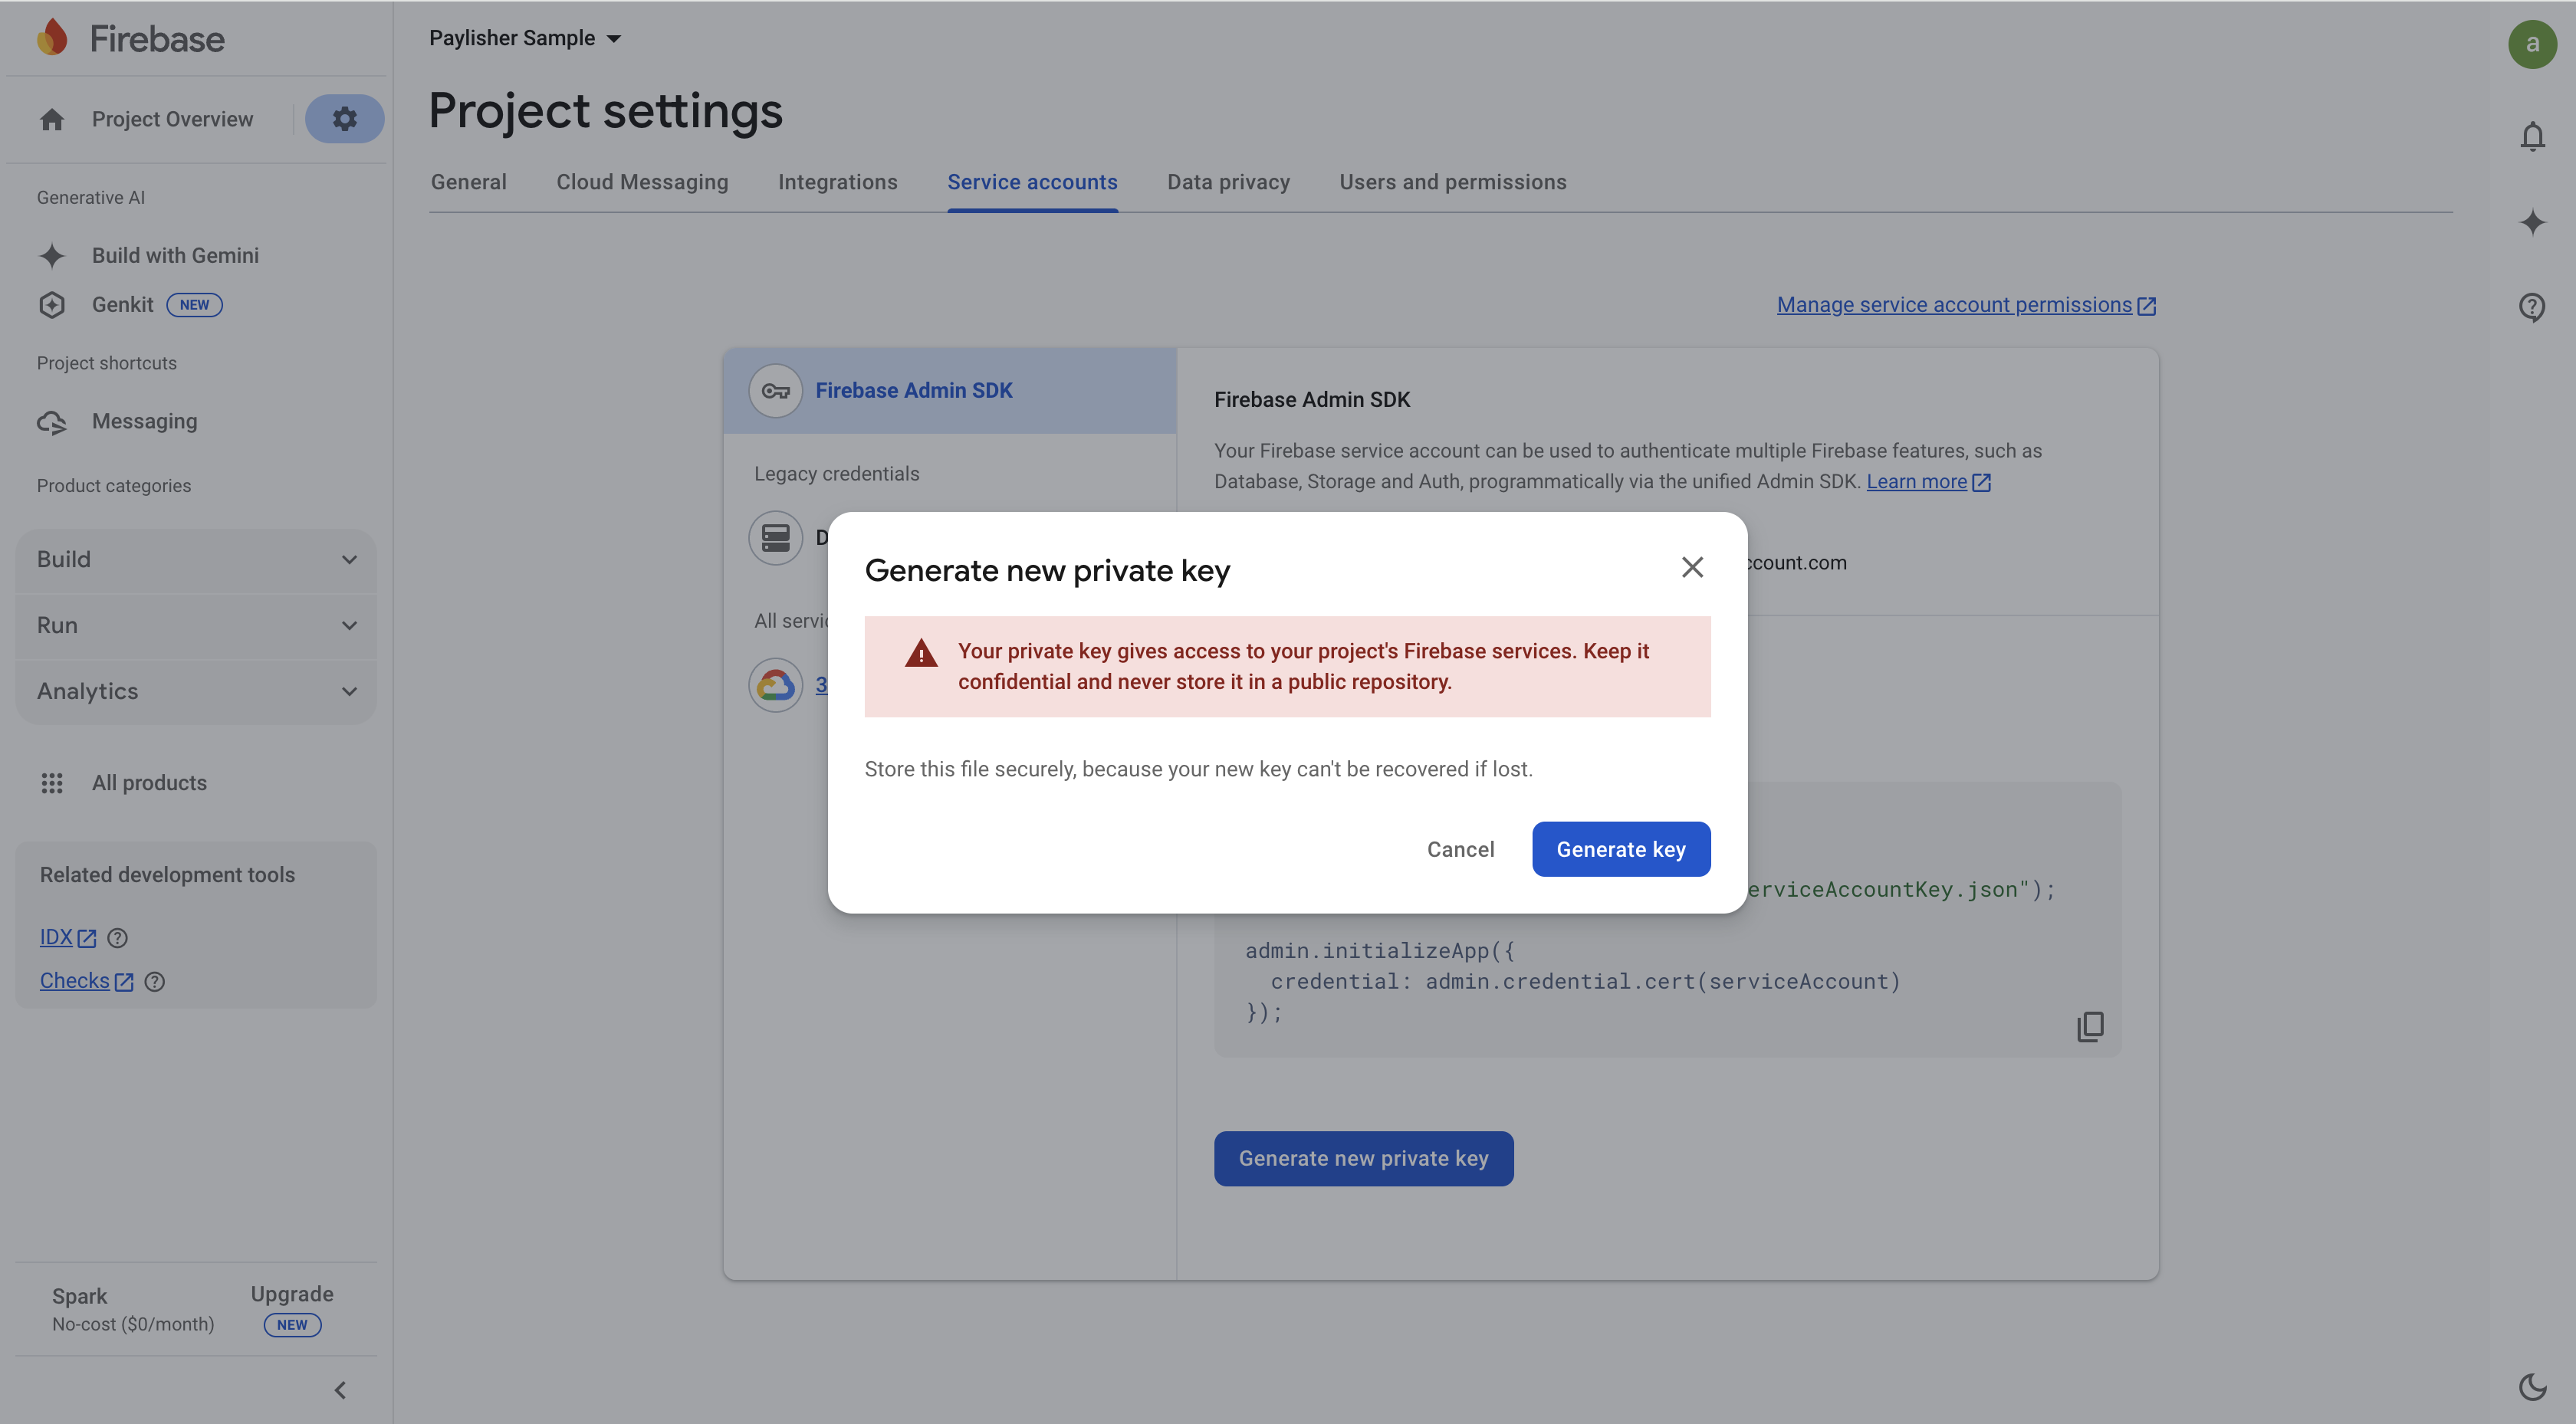
2. Generate Private Key
Select Java, then click on the Generate new private key button and confirm the action by clicking on the Generate Key button. The downloaded JSON file contains the private key that you need to share with Paylisher.
3. Share Private Key
Please share the private key (i.e., JSON file you downloaded) with Paylisher by sending an email to ~~ [email protected]~~. You can be sure that only limited people at Paylisher will have access to the private key. You need to specify the following information in the email:
- REQUIRED - Private Key (JSON file): Please attach the JSON file you downloaded.
REQUIRED - Device Category: Please specify the target device category (one of the following: DESKTOP, PHONE, TABLET, TV, WATCH) of your app.OPTIONAL - App Package Name: Your app package name (e.g., com.paylisher.app) . If you have different app package name for different device categories, please specify the app package name for each device category along with the respective private key.
Step 5. Activate FCM API
Finally, you must ensure that the Firebase Cloud Messaging API (V1) is enabled in your Firebase project. You can check the status of the API by navigating to the Project Setting > Cloud Messaging tab.